Ableton Live has two distinct views which allow for different workflows. One is called Arrangement View and is often used for composition, arrangement, and mixing. The other one is called Session View. For sketching out new ideas on the fly and live performances you want to use Session View In this post we’ll be looking at features in the Session View. This article covers as well how you can automatically play next scenes in Ableton Live when using the “Auto-Cue + Select Playing Scene” Max for Live device. Make sure to also check out the this article to find out more on how to play next scene automatically.
How to trigger a scene in Ableton Live
Audio and MIDI tracks are oriented vertically. You can add chunks of MIDI or Audio to your track called Clips which can play one at a time.
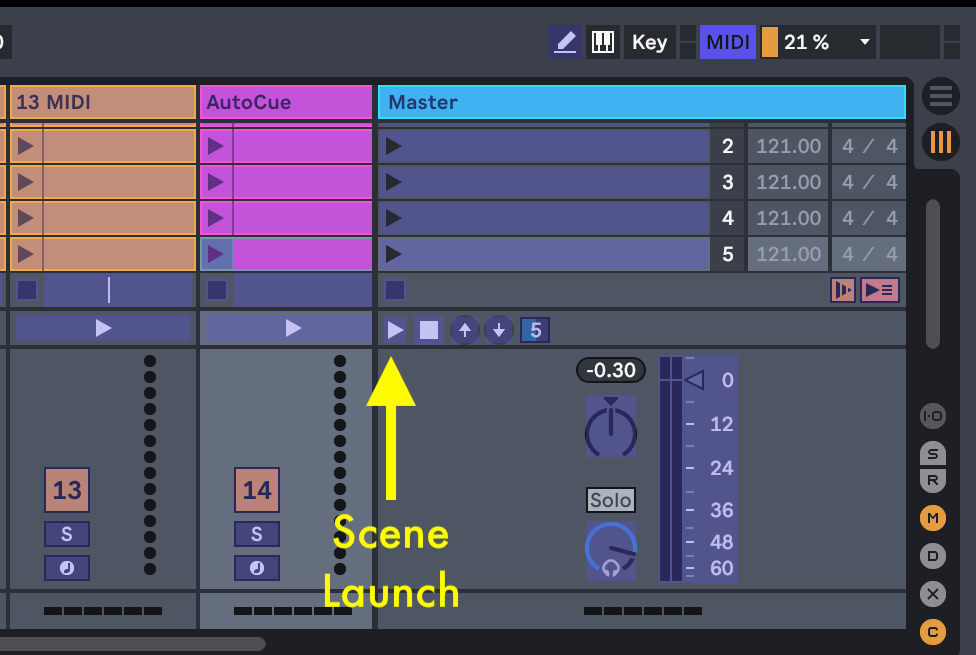
You can trigger multiple clips across multiple tracks if they are on the same horizontal line. We call the horizontal line a Scene. You can play all Clips in one Scene by using the play button on the Master Track.

How to Trigger Scenes Automatically with Follow Actions in Ableton Live
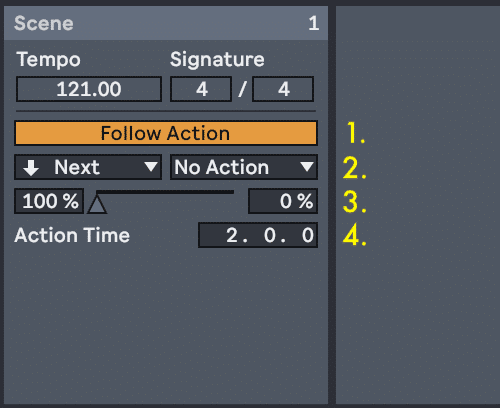
You can set up multiple Scenes to play automatically by using Follow Actions on the Master Track. Follow Actions allow you to make decisions about what happens after a certain amount of time. Choosing the Next follow action will automatically trigger the following Scene after a specified amount of time. Select a Scene slot on your Master Track. Thes will reveal the Follow Actions Menu. (You may also need to press shift + tab).
- Turn on Follow actions
- Choose which actions you would like from the dropdown menus
- Set the Chance Controls to decide the likelihood of each Follow Action to Happen
- Set your Action Time to determine how long to wait before the Follow Action
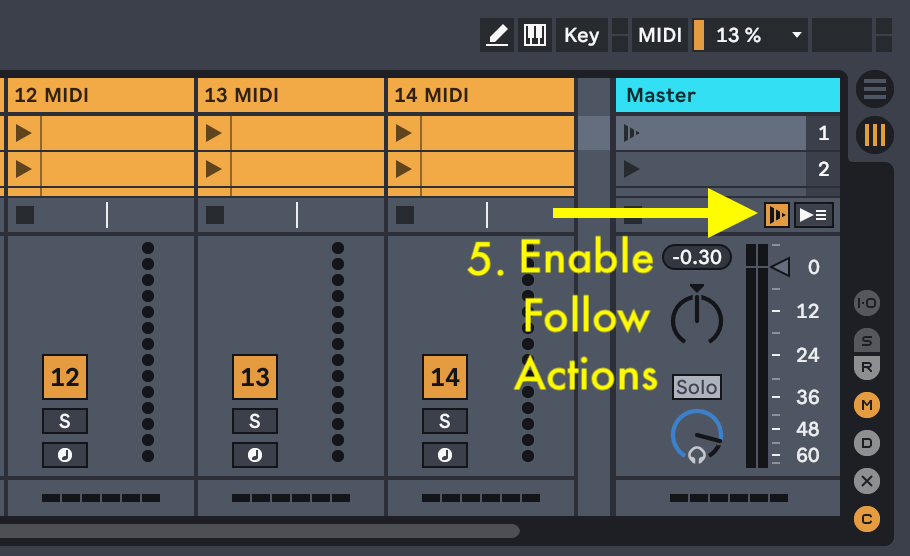
- Make sure you activate the Global Follow Actions Button, otherwise no Follow Actions will work.
How to select next scenes in Ableton Live automatically
Although Ableton is great at triggering scenes with Follow Actions, unfortunately when a Scene is triggered it will not automatically select the next Scene for you. This means that if you want to trigger Scenes on your own with a button, MIDI trigger, or e-Pad then you would have to manually click onto the next scene before you hit your trigger.
Fortunately, AbletonDrummer.com has a Max for Live device which can select playing scenes automatically. The “Auto-Cue + Select next Scene” Max for Live device. It will automatically select the next Scene for you after any Scene is triggered. This will allow you to trigger the next Scene on the fly without needing to click anything in Ableton Live.
Drop the Auto-Cue Device onto any MIDI track with a clip on each scene. You can as well set up a seperate MIDI track with empty MIDI clips in each MIDI clip slot.

Use MIDI Map Mode (CMD + M) or Key Map Mode (CMD + K) to control the Selected Scene Launch button with an external device such as a button, MIDI Trigger, or e-Pad.
Finally, go into Preferences (CMD + ,) and turn off “Select Next Scene at Launch”
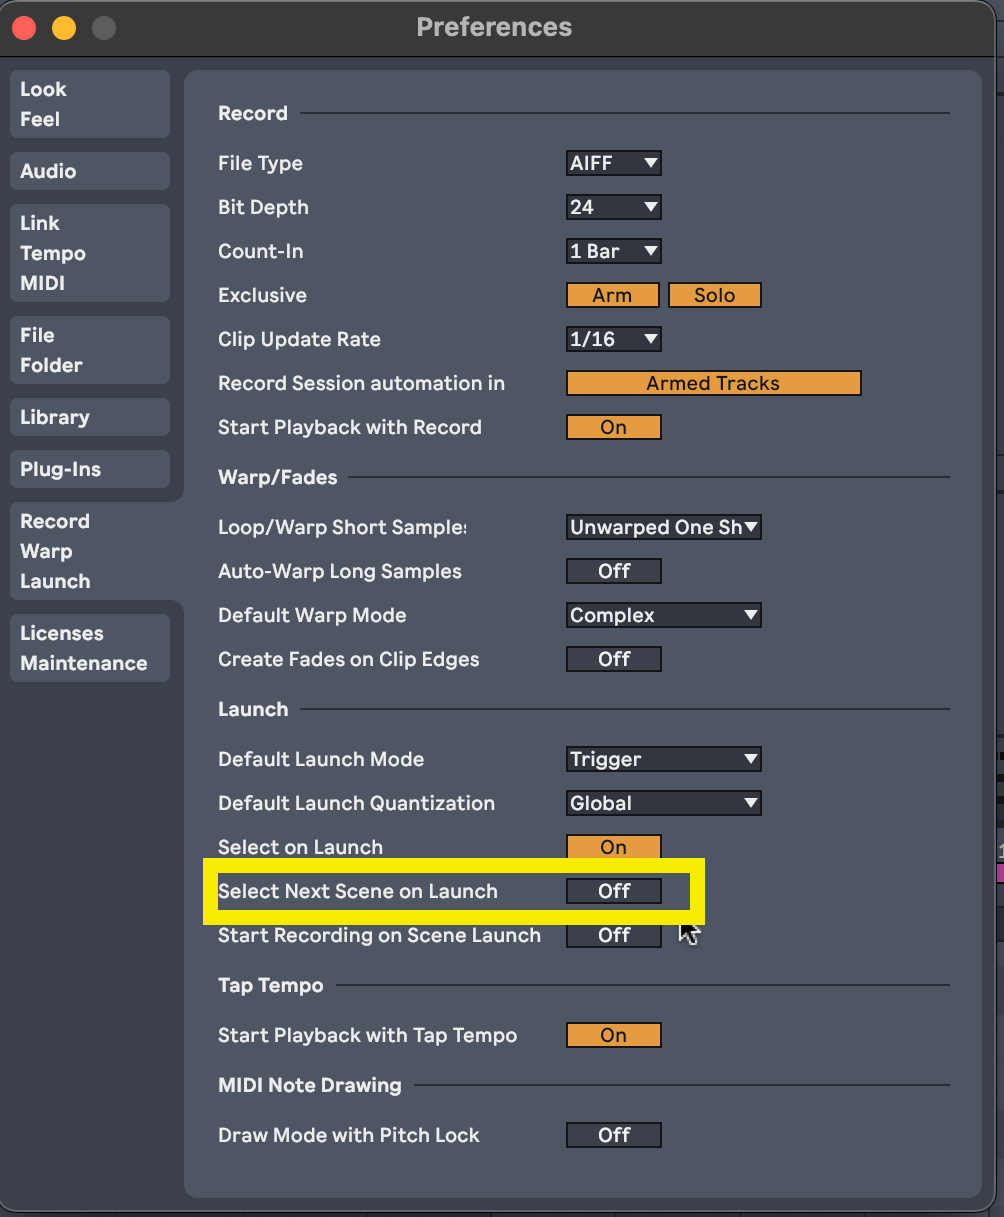
Now, after you use an external device to trigger a Scene the next Scene will automatically become selected. This will allow you to trigger the next Scene with your external device without needing to click on anything.
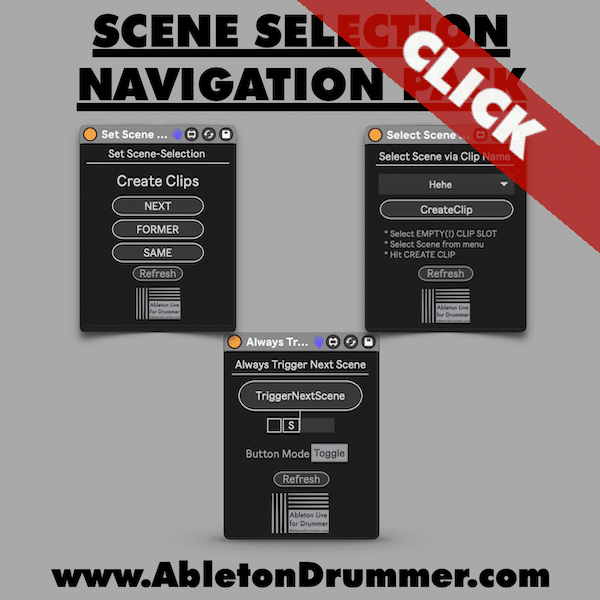
How to play next scene automatically
But wait, there is more! Check out the newly added Scene Selection Navigation Pack to get even more control and learn more on how to play next scene in Ableton Live.