Have you ever wanted to create locators in Ableton Live based on clips positions? Or create clips based on arrangement locator positions? Now you can do both with the Arrangement Locator + guide Clip devices from Ableton Drummer.
If you work in the arrangement view of Ableton Live, using arrangement locators, can help your workflow. You might also use them to plot out the structure of a song you’re making to organize the structure of an entire musical set. You can as well use them to denote where the BPM changes throughout your Ableton Live set. These are just a few ways they can be helpful.
These devices allow you to copy arrangement locators between Ableton sets, which isn’t currently offered as a native function in Ableton Live:
- copy a set of locators and duplicate them within the same Ableton set
- create guide clips in a track based on locator positions and names
This will save you time in many ways. Let’s take a look at how the devices work so you can get some creative ideas for your workflow.
Creating guide clips from Ableton Live arrangement locators.
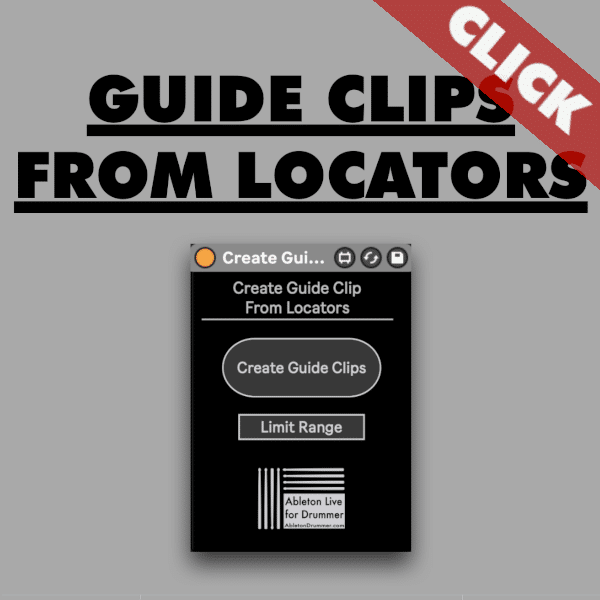
With the “Create Guide Clips from Locators” device, you can now easily create clips that fill the space between each locator in your Ableton set.
Creating Arrangement Locators in your Ableton Live Set.
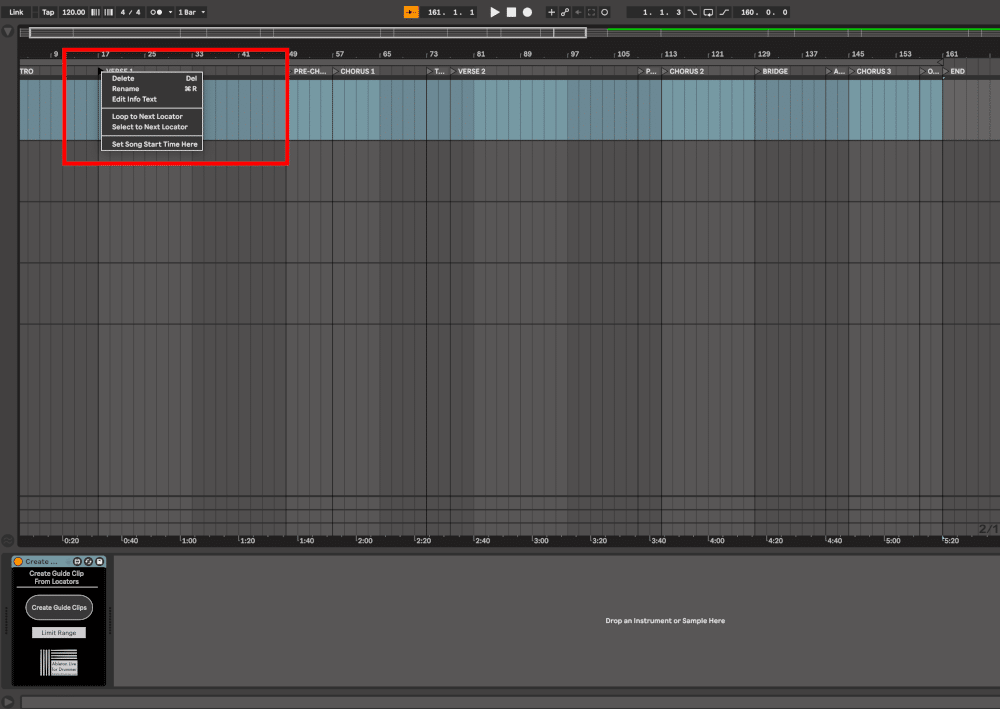
Add Arrangement Locators in your Ableton Set by right-clicking in the scrub-area (above top track in Arrangement View). You can also right click an existing locator to rename it.
Rename and create locators in your Ableton Live Set
Add Arrangement Locators in your Ableton Set by right-clicking in the scrub-area (above top track in Arrangement View). This will open up a menu where you are able to select “Create Locator”. You can also right click an existing locator to rename it. Just select “Rename” from the menu.
Laying out a song structure with Arrangement Locators.
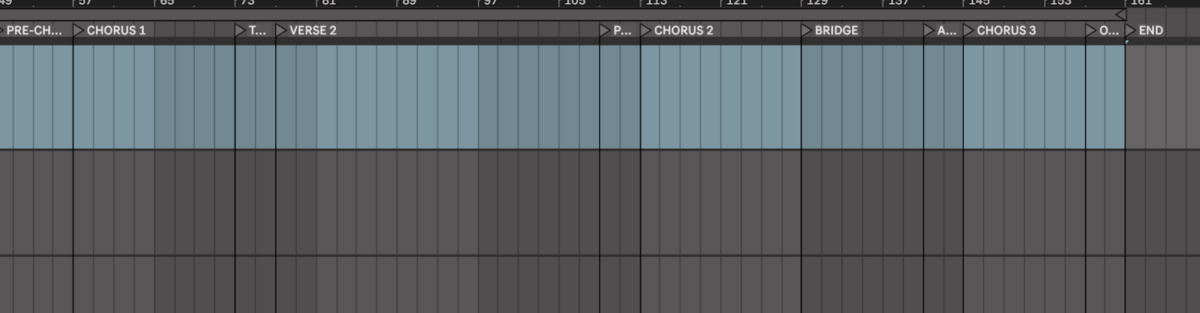
Here is an example of one song’s markers that illustrate the structure of a song.
PRO TIP: Add a marker named “END” to ensure you get a clip for that last two markers in the timeline.
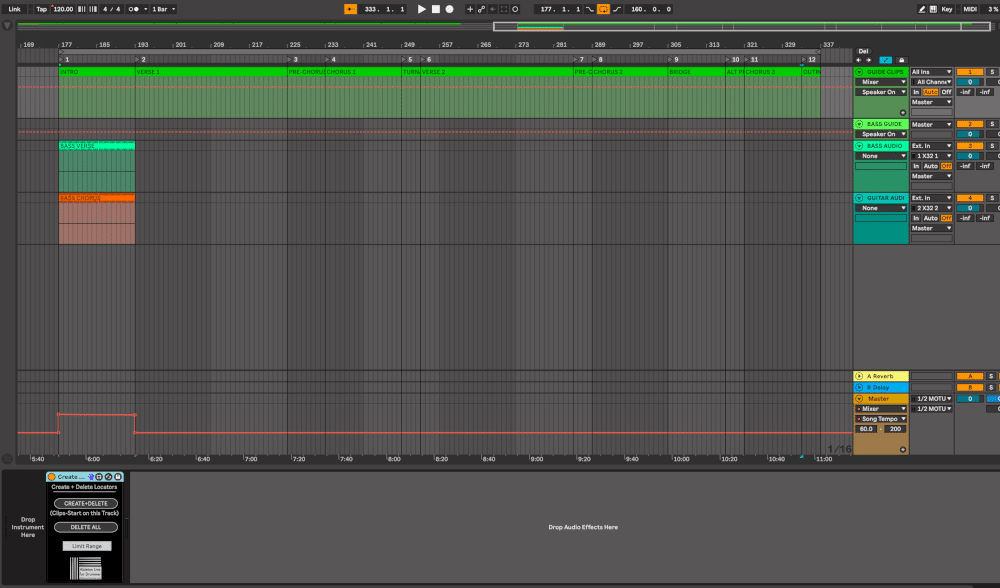
Once you’ve laid out these locators, you can create clips that fill the space between these locators using the “Create Guide Clips from Locators” Max for Live device. Drop the device onto the MIDI track that you want to put the guide clips into.
PRO TIP: Create a new blank MIDI track to be used for clips. Don’t add it to a track that already has clips so you don’t delete/overwrite your existing clips.
Click the “Create Guide Clips Button’ of the device. After a brief “WAIT” whichever track the device is on will be populated with clips that fill the space between each respective locator.
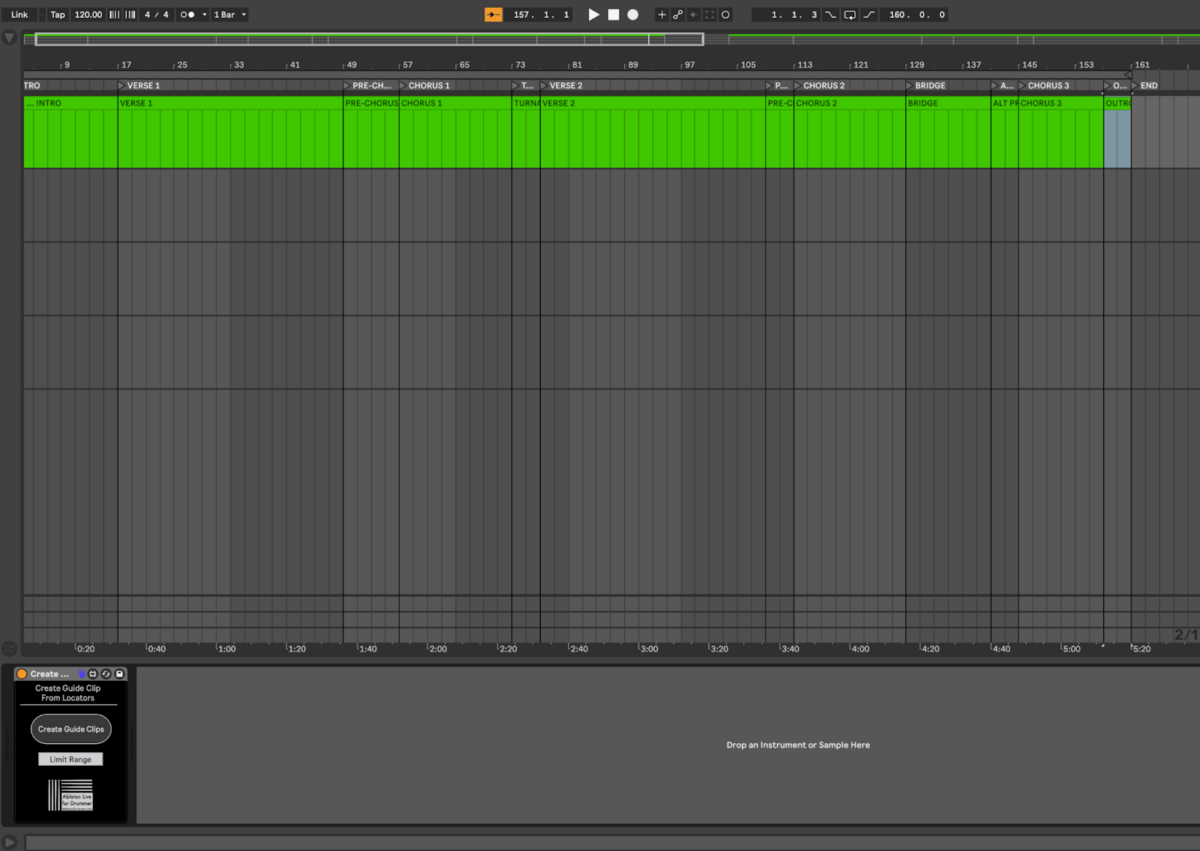
Each clip will also have the same name as the locator at its respective beginning.
Now you have clips of the exact length of each section of the song or set. You can use these clips in numerous ways in your Ableton Live Set.
How to save Ableton Arrangement Locator positions to your Ableton User Library.
If you take the guide clips and save them into your user library. You can use them to recreate Arrangement Locator positions in a new Ableton Live Session.
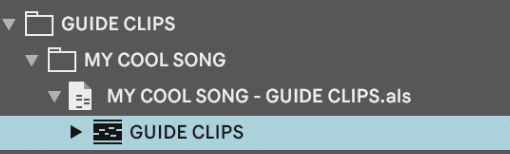
Create a new folder in your User Library (or save them wherever makes sense to you). In this example we made a folder for all guide clips, and then sub folders for each new song. When you save the clips from a song into the folder and it appears like this.
How to import Arrangement locators to a new Ableton Live Set.
Grab the highlighted file in the last image above, and drag it into a new midi track in your Ableton session. It will populate the track with clips like the top track in the image below.
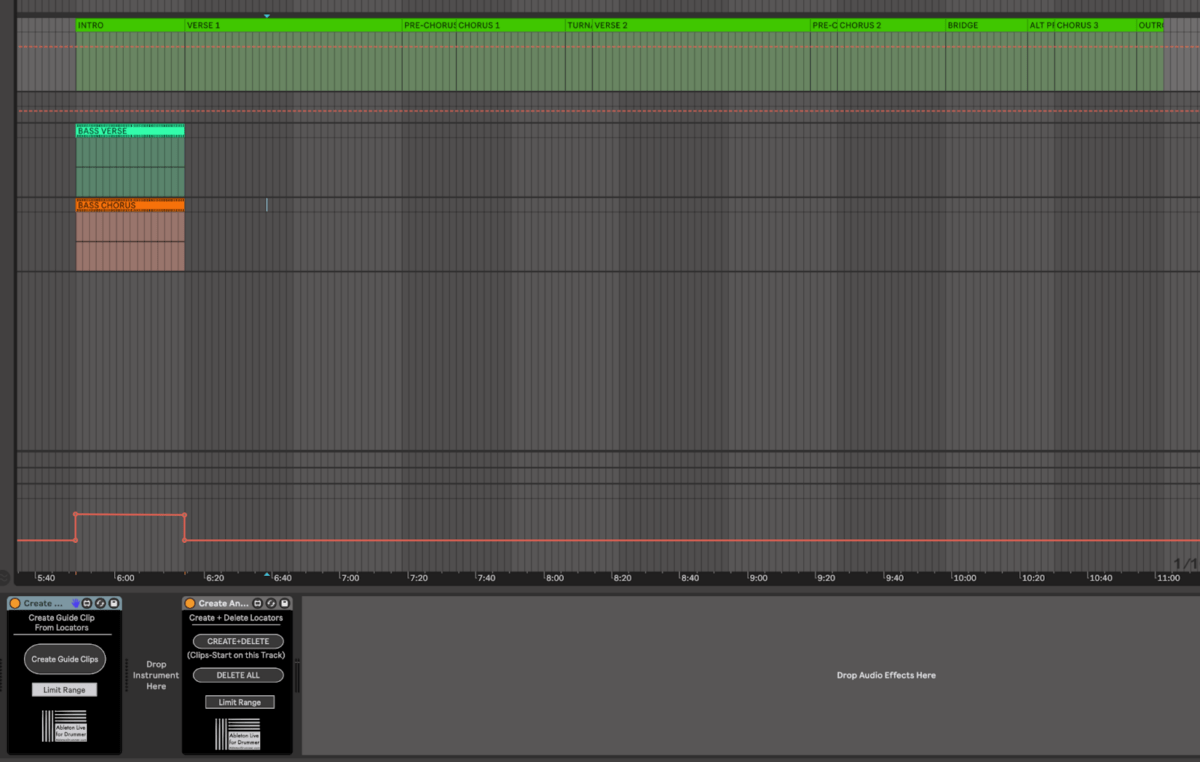
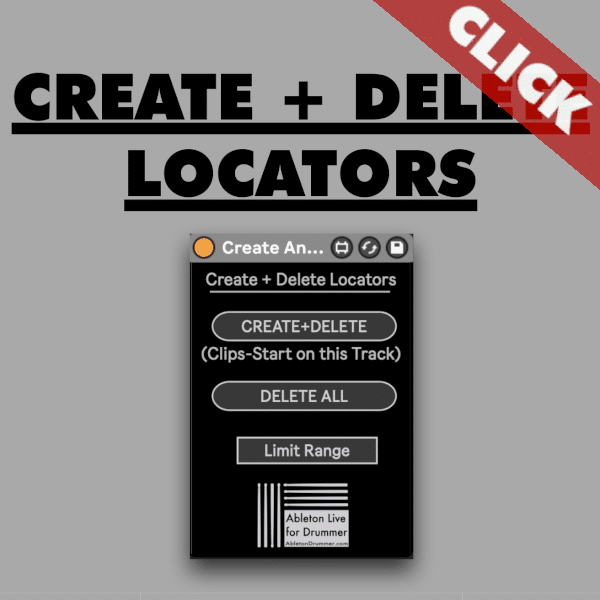
Now you can use the “Create And Delete Locators from Clips” to add locators at the start of each clip and recreate them in your new set.
- Drop the device onto the track with the guide clips, or any track you want to use to create the locator positions.
- If you already have markers and don’t want to erase them, use the “Limit Range” button. Then you can adjust the Arrangement loop brace to the region you want to add the markers to.
- Hit the “CREATE + DELETE” button. If you already have markers this will delete them. If you don’t, it will add new markers at the clip start points. Let’s look at the result of adding the clips to a specific range of the set. We’re also limiting the range to those clip’s length to only add those locators in that region.
Now you have markers for each section of the song based on the guide clips.
How to build a whole live set with locators for each song in your Ableton Live Set.
If you’re building out a larger Ableton Set in arrangement view, you may want arrangement locators for each song. Whether it’s the beginning and end of the song, or each section, you can save a lot of time using these techniques.
If you repeat the steps in earlier sections of this post, you can create guide clips and locator arrangements for all the songs in your live set.
- Add your guide clips for each song to the arrangement view.
- Engage “Limit Range” button to avoid overwriting existing locators.
- Move arrangement loop brace around the respective song’s region of the arrangement.
- Hit “CREATE+ DELETE” button to add that song’s locator’s to that range.
PRO TIP: Copy and paste the guide clip’s name to its respective locator to save time of the locator naming process.
Midi mapping Arrangement Locators to navigate your Ableton Set.
You can midi map arrangement locators and jump to that spot of the arrangement to easily launch tracks or sections of songs. By adding locators at key moments of your arrangement easily, you can have locators at all the spots you need them. Add guide clips and then use the “Create markers from guide clips” device. On the guide clips track.
Navigating your Ableton set by jumping to the next or previous Arrangement Locator.
- Add markers to your live set for each moment you want to jump to using the techniques you learned earlier.
- MIDI map “JUMP” buttons to the MIDI controller you’ll use to navigate the set.
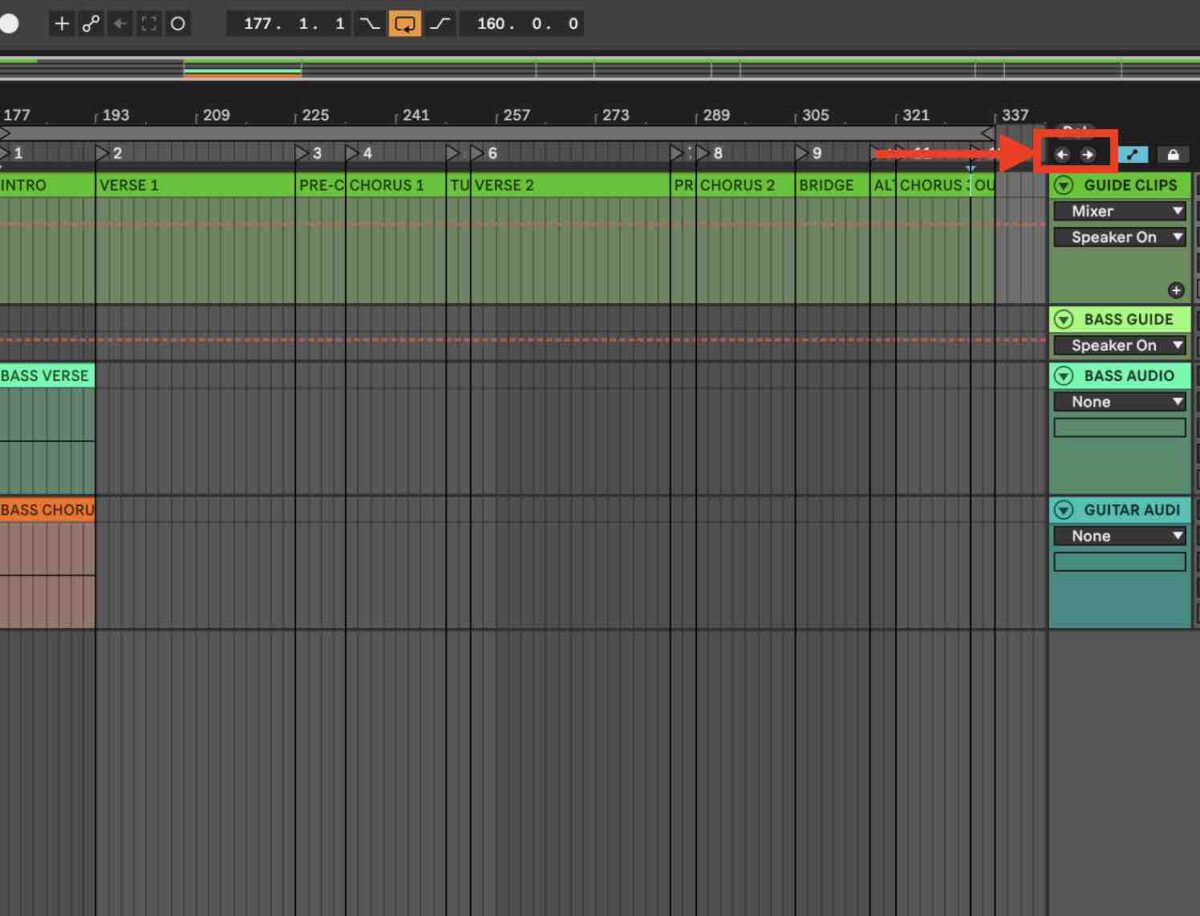
Now you can hit either button on your controller to jump to the locators you added using the devices.
Easily renumber all arrangement locators in order.
If you want to renumber all the locators in a set in order, here’s a way you can easily do that. NOTE; this will delete existing locator’s name and replace them with ascending numbers per marker.
- Add the “Create guide clips from locators” device to an empty MIDI track.
- Hit the “Create Guide Clips” button to create clips for all arrangement locators in your set.
- Add the “Create and Delete Locators from guide clips” device to the same track.
- Hit the “Create + Delete” button to delete all the markers in your set.
- Hit the “Create + Delete” button again to add a marker for each clip in your guide clip track.
Now you’ll have markers in the same locations you had them before but they’ll all be named with ascending numbers starting with 1 and increasing for each concurrent locator in your arrangement.
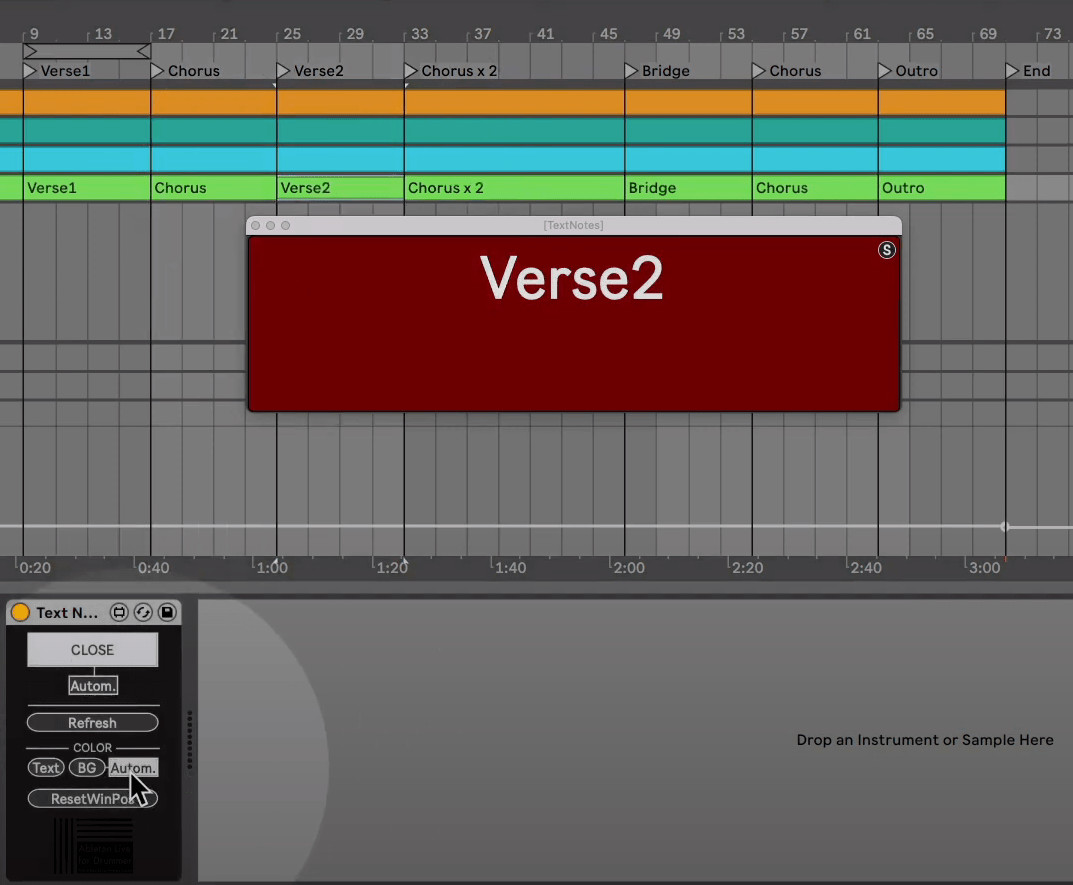
How to display Arrangement Locator names in a larger window for easy viewing.
- If you use the “Create Guide clips from Locators” device, you can create a new clip for each Arrangement Locator. These clips will be named the same as the marker at the clip’s start.
- You can use the “Text notes for arrangement view” device, allowing you to view the currently playing clip’s name on the designated track in a pop out window.
Now you’ll see the name of the currently playing clip on the guide clip track as the arrangement plays.