Intro
The Note to MIDI CC devices are giving you the ability to create and set MIDI CC values. This way you can control external MIDI hardware, send MIDI CC to other softwares and apps or route this MIDI back to Ableton Live. First of all you get the chance to not only have to stick to only one setting here. Just by (de-)activating devices you can set-up and switch between multiple functions for just one MIDI note to trigger. Especially for live-sets and performances you might want to use the same pad or button of your external midi controller to trigger different things in different parts of your performance.
Get the Note To MIDI CC Collection here!

Another advantage of those devices is to set-up presets and re-call those. (Up to this moment Ableton Live doesn’t support saving or re-calling certain MIDI mappings natively, they can be only stored in ‘whole’ Ableton Live Sets.) This way you could get a faster and better workflow.
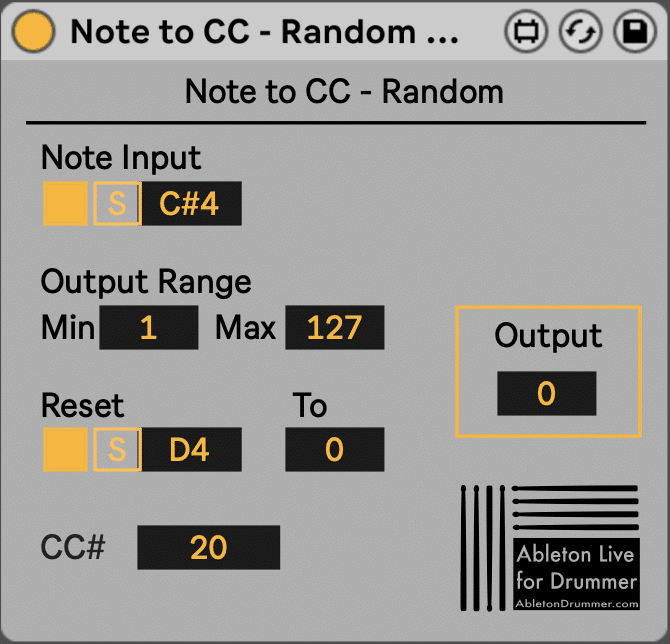
Note to MIDI CC – Random – Manual
Note Input
The “Note To MIDI CC” Max for Live devices are designed to be triggered incoming MIDI notes. Make sure that your MIDI IN routings and settings like “ARM”ing or “Monitor IN” on the MIDI track are set the way that the device will receive MIDI notes.
1.Switch on the Note Input

2.Set the MIDI Note Pitch:
You can press “S” (= ”SYNC”) to make the device ‘listen’ to your MIDI note input. Then just trigger/hit the MIDI note e.g. from your external controller and the pitch of this note will be set automatically.
You can as well edit the pitch value by putting in the value in the pitch number/note field by selecting it and using your mouse (slide up+down) or putting in the value with your computer keyboard.
Output Range
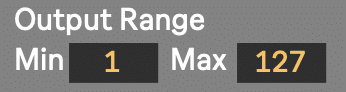
You can set and limit the random values which are being triggered to a range. This could become handy e.g. if you want to trigger only between certain values like 0 and 10.
Reset
You can set up a second MIDI note to trigger a certain value. This could come handy if you want to jump straight to a certain value. Just set the value you want to jump to in the “To” number field.
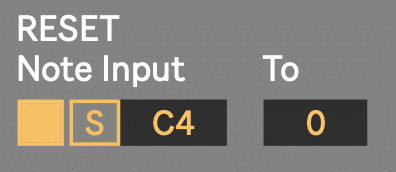
Note: If the “Reset To” value is not inside the range between your “Min” + “Max” values, you will ‘jump’ outside this set range. The next trigger(s) and value changes will be changes up/down going from the current “Reset To” value till you are back in the set range.
Monitor
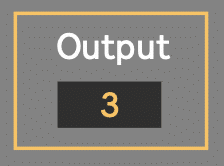
To be able to monitor the values you are triggering you got an Output section which shows
the current/last triggered value. This section will light up yellow when a change is triggered.
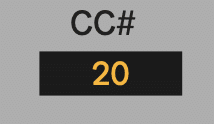
Set the MIDI Control Change / Continuous Control Number (CC#)
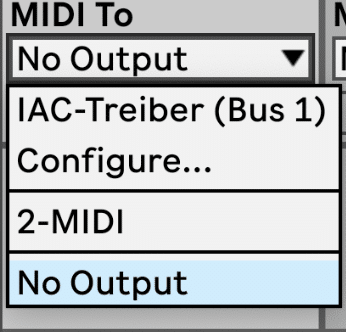
You are now creating CC values when you are sending in the dedicated MIDI note. You need to route the MIDI CC data via the “MIDI To” of the MIDI track the device is placed on.
You will need to define on which MIDI CC number this values need to be send. Per default this is set to “20” but can be changed to your desired values.