
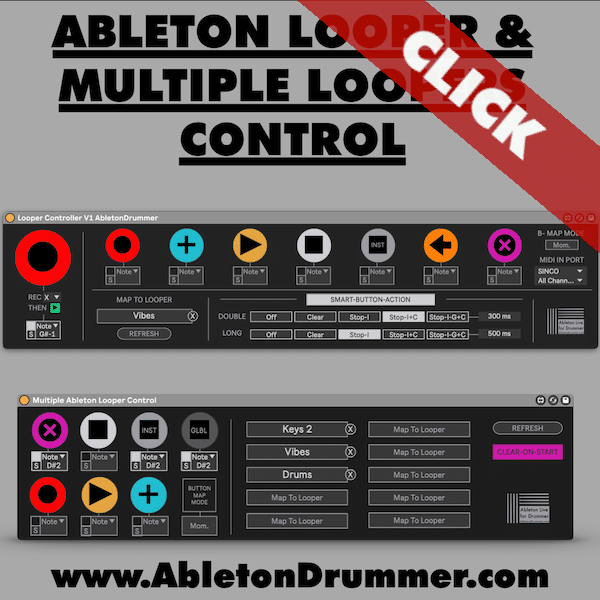
Mastering live looping in Ableton Live becomes seamless and dynamic when you harness the power of the Ableton Looper Controller + Multiple Looper Control. You can get the Ableton Looper Tools Collection which includes the devices as well. This essential Max for Live Collection lets you effortlessly integrate advanced MIDI control, visual feedback, and smart loop management. Elevate your live looping workflow to a professional level!

How to Set Up the Ableton Looper Controller for Live Looping
Setting up the Ableton Looper Controller is straightforward and powerful. Load the device onto any track in Ableton Live. You can click on “Map To Looper” and then touch a parameter of the Ableton Looper you want to map.

You can now set up your external MIDI Controller from the menu and map your controller. Your buttons or pads can trigger key looper actions. Record, overdub, stop, clear—with a simple Learn function. You can assign commands using MIDI notes, CCs, or program changes. Just activate the MIDI Input for the action you want to map and hit “S”. Now just press your MIDI controller button or pad. The type and pitch/number of the MIDI message will be detected and set automatically.

By mapping your controller, you immediately bypass Ableton’s native MIDI limitations, creating a fully customizable and responsive setup which can be stored and recalled as a preset across Ableton Live sets.
Maximizing Efficiency with Multiple Controllers
Another Advantage and overcoming Ableton’s Native MIDI Mapping Limitations here: You are able to set up multiple M4L Controller devices to control the same looper – meaning you can use as many MIDI Controllers positioned and distributed in your studio or on stage to access the same looper controls.
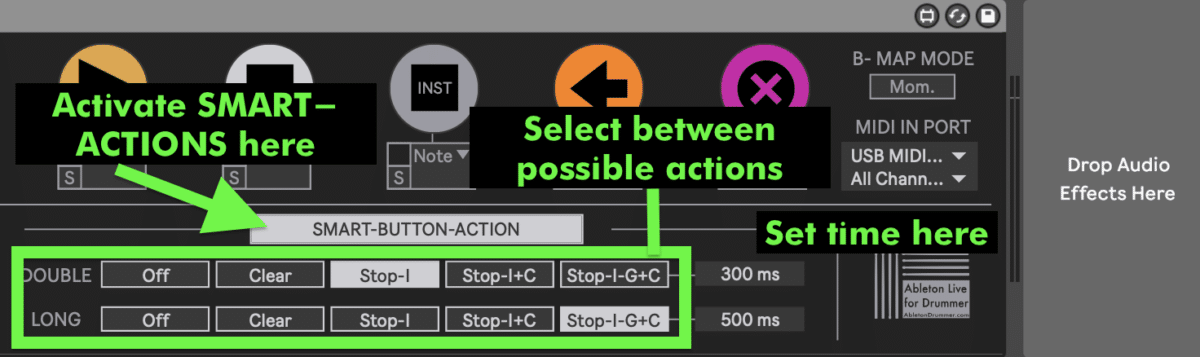
How to Enhance Live Looping Performance with customisable SMART BUTTON actions
The Looper Controller provides some highly customizable “Smart Button Actions”. That means Double-Click or HOLDing the main button via the direct MIDI INPUT technique in a customisable time.
DOUBLE CLICK means hitting a button/pedal of your MIDI controller twice within the set time
HOLD means keeping a MIDI controller button/pad depressed for the set time.
The smart button actions are:
- CLEAR the Looper
- STOP-INSTANT
- STOP-INSTANT + CLEAR
- STOP-INSTANT + CLEAR + STOP ABLETON’s LIVE GLOBAL TRANSPORT
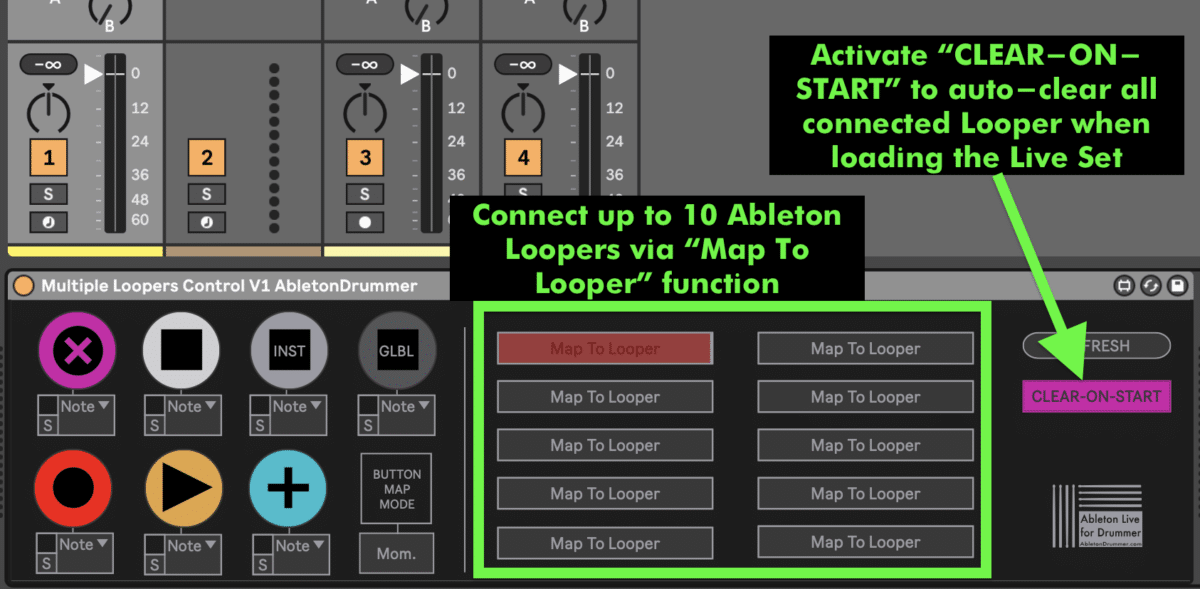
Multiple Looper Controller
When using multiple Ableton Looper there is the need for live looping performers to perform certain actions for multiple Ableton Loopers at once. The most needed function here is to be able to “CLEAR” multiple Ableton Live Loopers at the same time with just one button. Besides manual clearing the Multiple Looper Controllers Max for Live can automatically CLEAR all connected Ableton Looper when loading the live set. This can be reassuring to not accidentally having loops still being triggered from your last nights performance by accident.
Just map up to 10 Ableton Loppers via the “Map to Looper” function to one device and set up the controls you need to perform on all mapped loopers at once.
Make sure to check out the video tutorial as well for a deep dive on advanced looping in Ableton Live.


