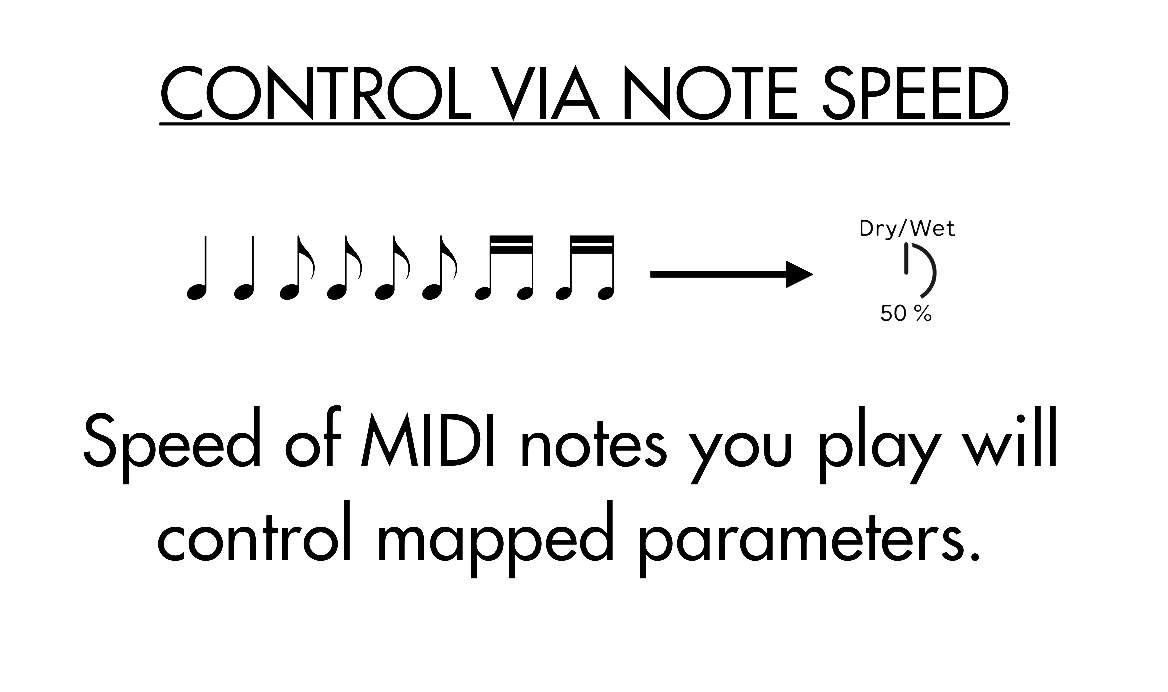
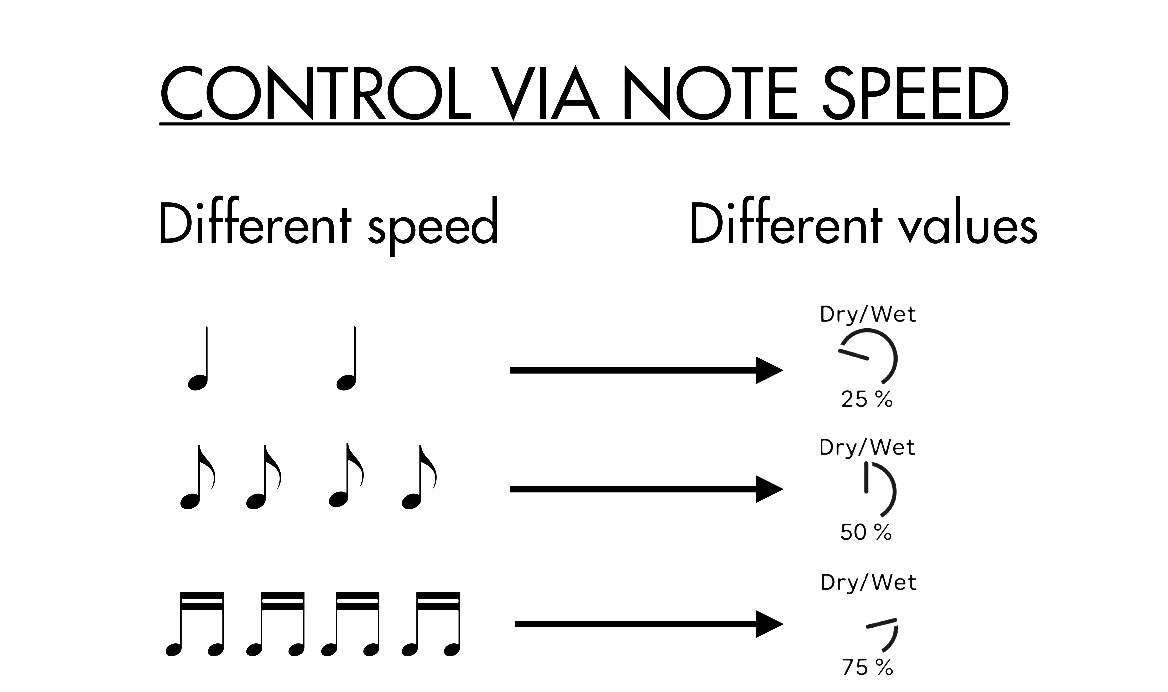
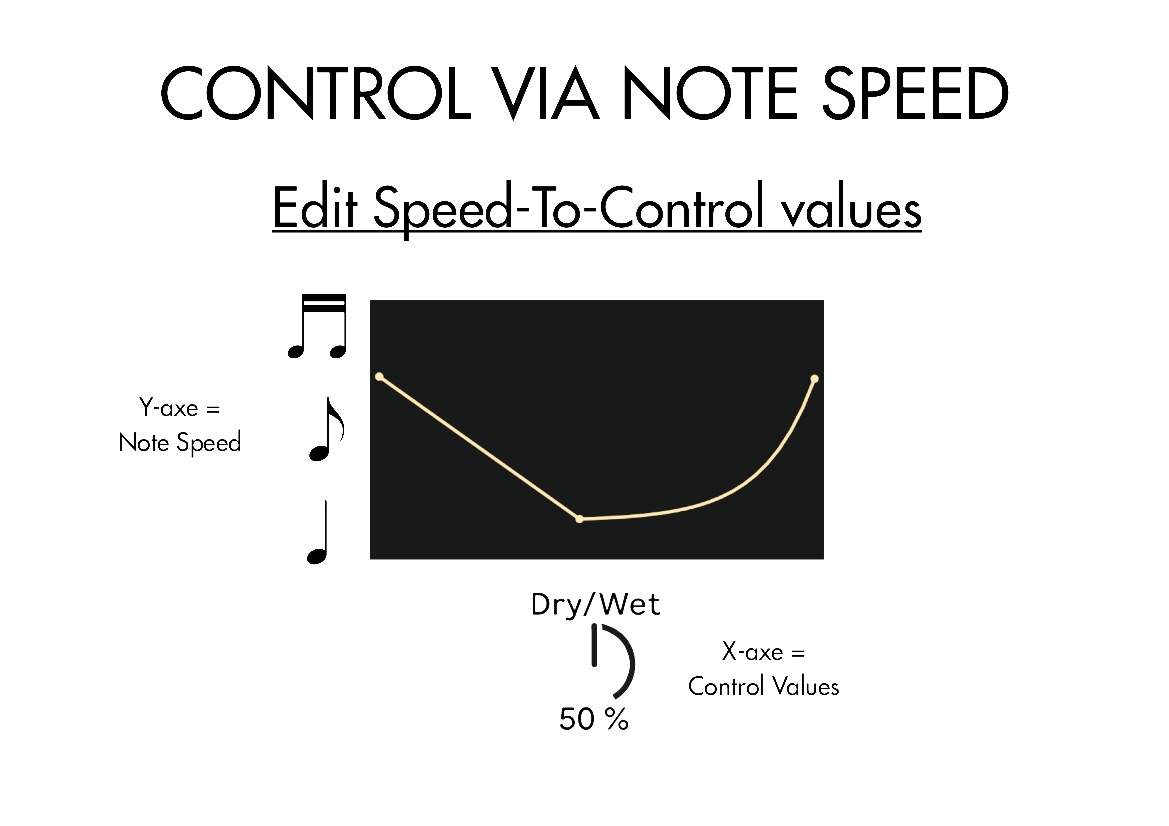
The “Note Speed To MAP” device lets you control parameters in Ableton Live via the speed of played MIDI notes. You can MAP a wide range of parameters in Ableton Live. This way you can set-up that faster notes will increase a parameter. You can set from which speed/tempo notes are being played the control signal will be generated. The created values can be ‘smoothed’, so parameter changes can be controlled to sound right and not ‘jumpy’ when going from small to high changes.
If needed the value scaling can be set to a (crazy) high number of points, curves and non-linear changes.
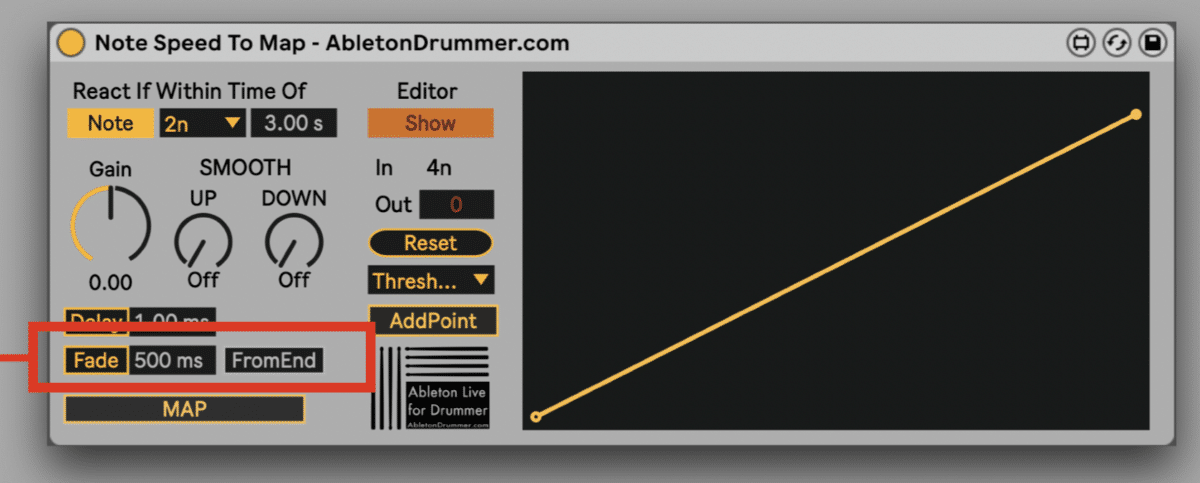
If controlled parameter values ‘should go back’ you can use the “Fade” option, which will set the mapped parameter to go back /reset to a pre-set value in a pre-set time.
React-Time of note speed to control parameter
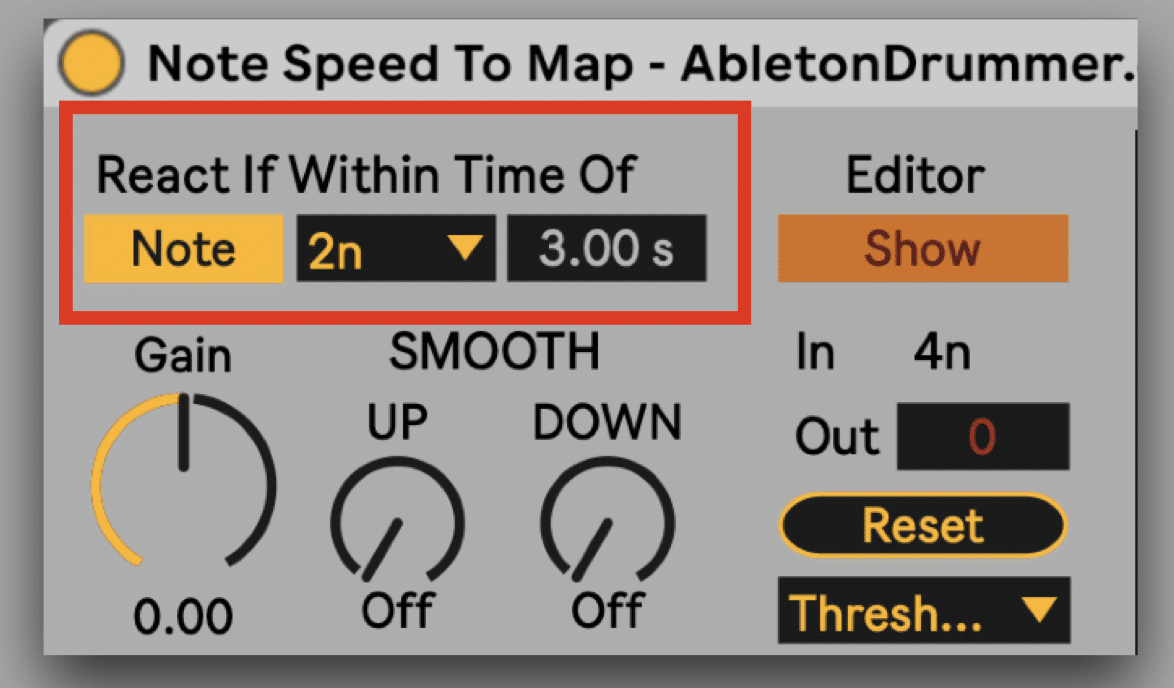
Only if MIDI notes are being played like or faster than the set “React-Time” they will be used by this device.
All notes played with a slower speed won’t are not being used by this device. The measurement taken here is determined by note on messages only.
To give you one example:
If set to 3.00 seconds all notes with a note-on distance of 3.00 seconds and lower will be used by this device to create values – all notes with a note- on distance longer then 3.00 seconds won’t be taken for creating values.
You are able to select if the react time should be defined via “Time” or “Note” values: – ”Time” will display values in milliseconds/seconds.
– “Note” will display note values which are relative to the selected master tempo
If “Note” is selected the “Time” window will monitor the currently selected note values in time.
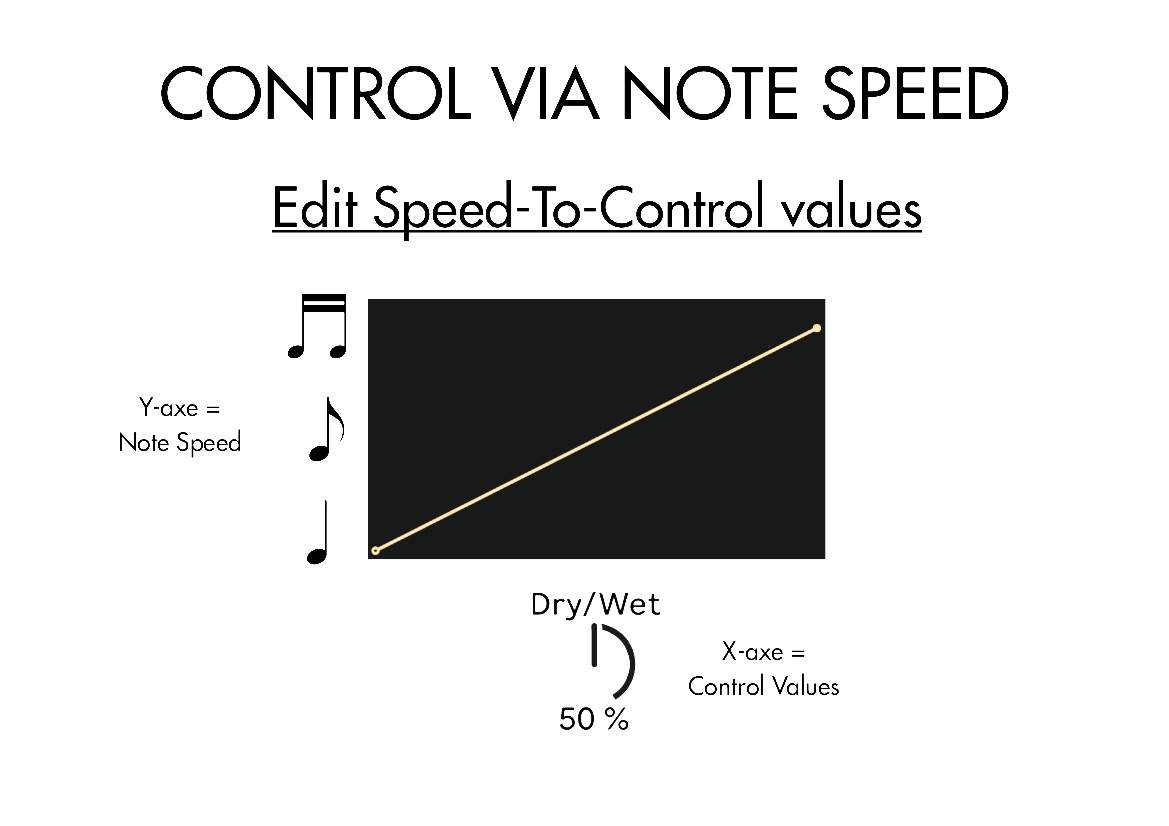
Value Scaling and Value Monitoring
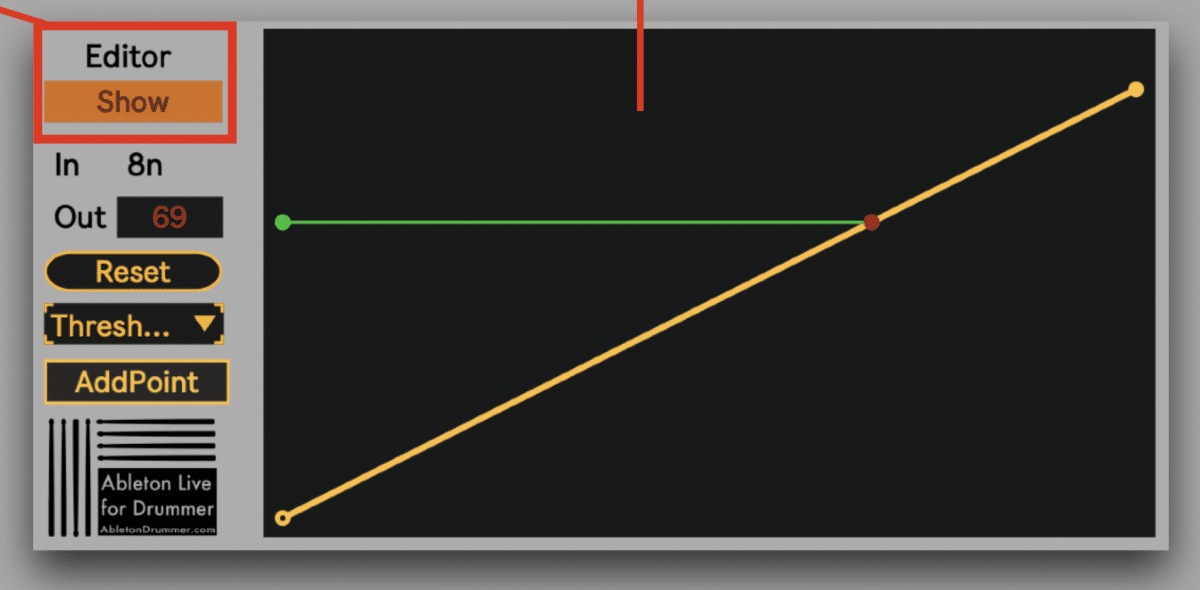
Activate “Show” in the Editor section to access the value editing curve.
Curve: the IN value will be shown on the Y-axe in green and the out value will be shown on the X-axe in red color. You get as well an (estimated and rounded) In monitor IN note values and a numeric OUT value monitor.
Editing Value Curve
The Value Curve lets you edit all values in detail. You can move the editing points, add more points, set curve-bends between to points.
When clicking on “Reset” settings will be reset to a linear 2 point ‘curve’. You get a menu with some presets as well.
To save CPU just have the “Editor” View activated during editing.
GAIN and SMOOTH parameter changes
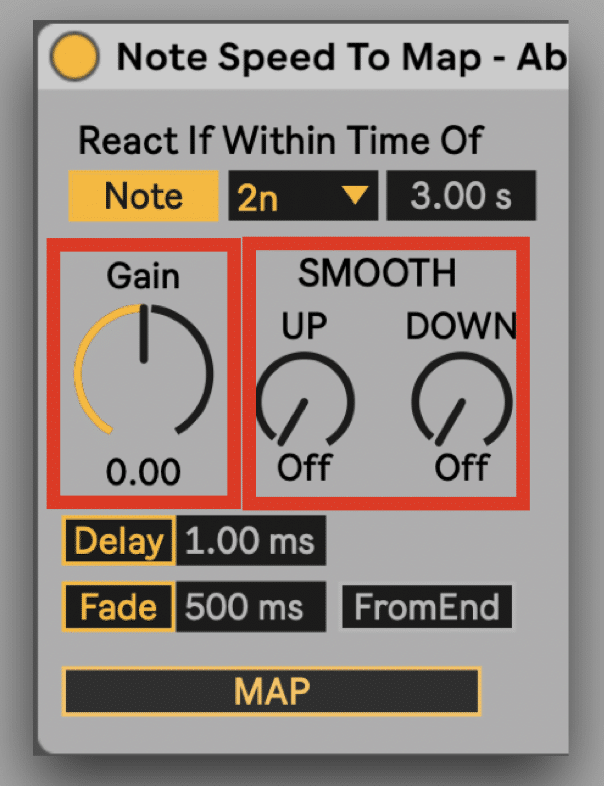
You are able to in-/decrease the values which are being created via the Gain wheel. If values are going over the max reach- able (=127) a notification is being shown that the gain is set to high.
When using the time between notes to create values it is very easy to create values which can be quite ‘all over the place’ when de-/increasing the speed of notes:
- “SMOOTH”ing can be used to have values slowly increasing de-/increasing instead of being to ‘jumpy’.
- “SMOOTHING” can be set individually for values increase and decrease.
DELAY note speed to control parameter
For some use cases the MIDI Note has to be set to come slightly AFTER the parameter control message. Just activate “Delay” and set the time.
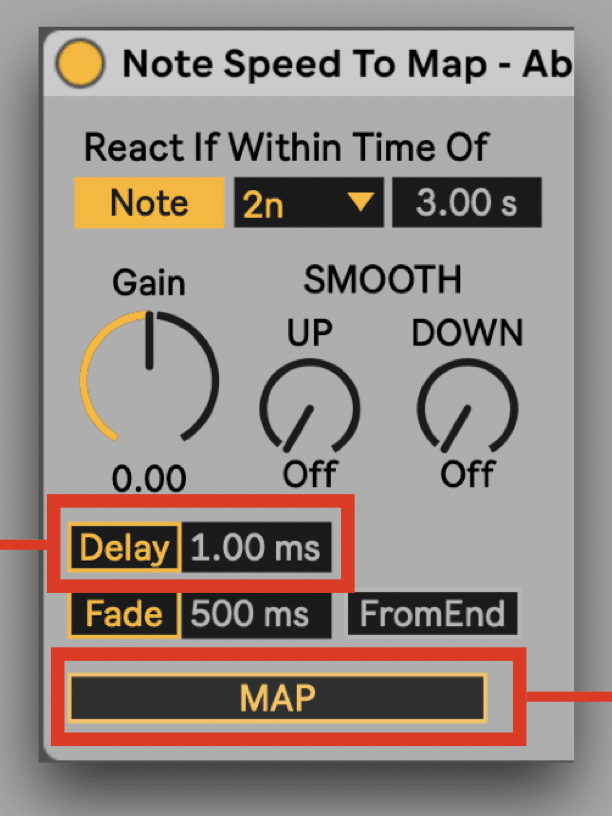
MAP note speed to control parameters
The MAP button is being used to select the parameter in Ableton Live you want to control. Just click on the button and then select the parameter you want to be controlled and set to changes via the speed of your MIDI notes.
FADE note speed to control parameters
The “Fade” function can be used if a controlled parameter should be “reset” and scrolled back to a certain value e.g. a “dry/ wet” from a “Delay” should be set to “0” after it was changed via note speed.
Just active “Fade” and set the time for this.
The time can be used from the
certain value / X-axe point which
was triggered or be calculated in relation “FromEnd” of the whole X-axe.