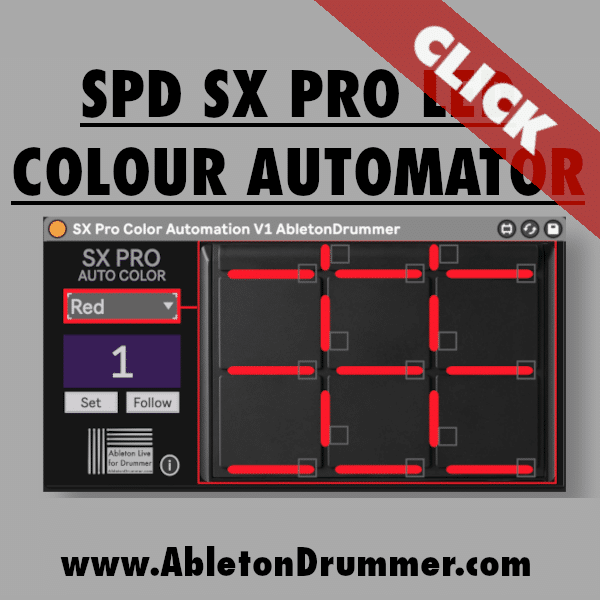
Automating colors on your SPD-SX PRO* can enhance your live performance by providing dynamic visual cues. The SX PRO LED Automation tool, a Max for Live device and part of a bundle, makes this possible. This guide will walk you through setting up and using this tool.
Setting Up SX PRO LED Automation in Ableton Live
To get started with SX PRO LED Automation, ensure you have Max for Live, which is essential for this device. Max for Live is included in Ableton Live Suite or can be purchased as an add-on for Ableton Live Standard. Additionally, the device is compatible with Ableton Live 10, 11, and 12.
How to Install the Device
Firstly, open Ableton Live and ensure your software is running. Next, load the SX PRO LED Automation device from your user library onto a new MIDI track. Following that, connect your SPD-SX PRO via USB or MIDI. Using a USB connection is recommended for simplicity.
Configuring MIDI Preferences in Ableton Live
Begin by opening Ableton Live’s preferences. Then, navigate to MIDI PORT section and locate the SPD-SX PRO as both the input and output device. After that, enable track input and output for the SPD-SX PRO under the MIDI settings.
How to configure MIDI Settings on Roland SPD SX PRO
On your SPD SX PRO, navigate to the System MIDI Menu:

- Select Menu.
- Go to the System MIDI tab.
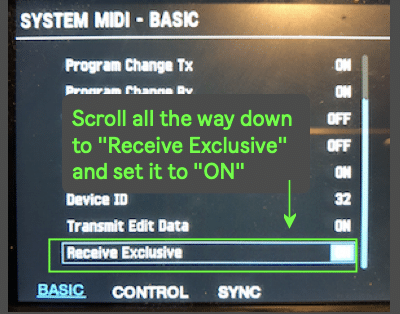
- Scroll down to Receive Exclusive and set it to On.
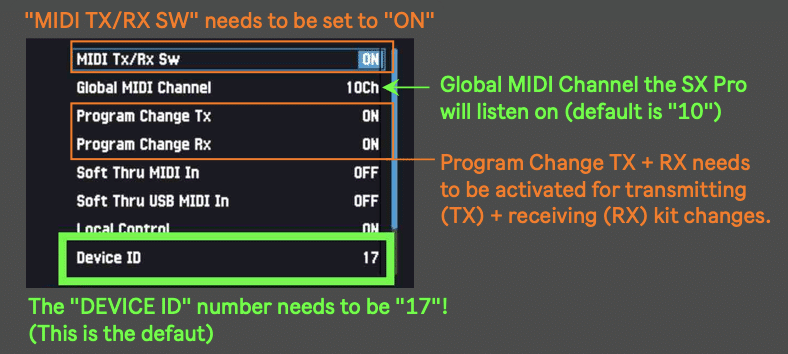
- Ensure MIDI TX/RX SSW is turned On.
- Ensure Program Change TX + Program Change RX is turned ON
- Set the Global MIDI Channel to 10 (default).
- Check and set your Device ID to “17”

Adding the Max for Life Device
In Ableton Live:
- Create a MIDI track.
- Drag and drop the SX PRO LED Color Editor (Max for Life device) onto the MIDI track.
- Set the MIDI From to SPD SX PRO and Monitor to In.
- Set MIDI To to SPD SX PRO and select Channel 10.
- Set Program Change Tx + Rx to On
- Make sure your Device ID is set to 17
How to Automate Colors
Selecting Colors
To choose colors, use the color picker in the SX PRO LED Automation device. Subsequently, automate the color changes by creating MIDI clips and setting up envelopes for color transitions.
Excluding Specific Pads
First, choose which pads you want to exclude from color changes. Then, deselect the pads that should remain static.
Automating in Session View
Start by creating dummy clips by double-clicking to create empty MIDI clips. Use the envelope section to automate color changes. Finally, trigger the clips to see the colors change dynamically.
For a more in-depth tutorial please check out the video below.
How to Use the Color Editor Plugin – another SX Plugin
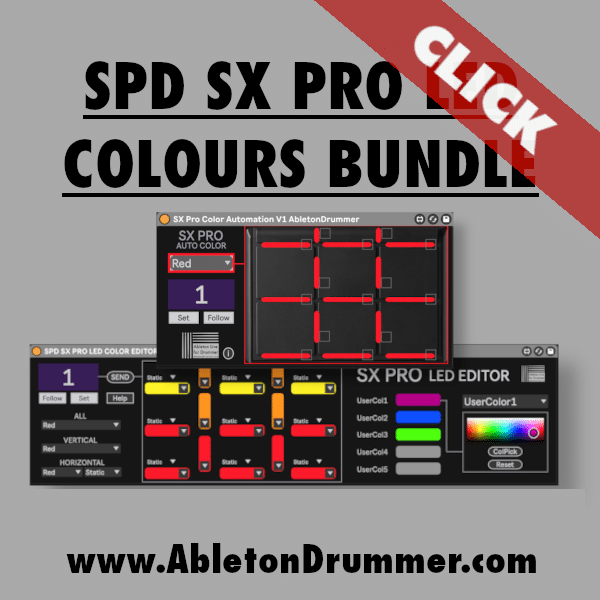
The color editor plugin, part of the SX PRO LED Colours bundle, allows you to set static colors for pads. Begin by loading the plugin onto a new MIDI track. Then, set static colors for individual pads. Save your settings for consistent visual feedback.
Advanced Tips for LED Automation
Syncing Kit Changes
Ensure the kit numbers on the plugin and SPD-SX PRO match. Moreover, enable MIDI transmit and receive settings.
Using Arrangement View
Copy your MIDI clips from Session View to Arrangement View. Additionally, ensure the automation button is enabled to allow arrangement automation to take control.
Troubleshooting
First, check automations to ensure they are active and not greyed out. If changes are not reflecting, click the automation re-enable button.
Conclusion
SX PRO LED Automation transforms your SPD-SX PRO into a dynamic visual instrument. By following these steps, you can set up and automate colors easily in Ableton Live. Especially when paired with the colour editor both devices enhance your performance, providing clear visual cues.
*affiliate link


