
A Comprehensive Guide to Configuring Your MIDI Controller with Ableton Live
This guide is focusing on sending MIDI from external MIDI controllers into MIDI tracks in Ableton Live. To overcome the limitations by Ableton Live’s native MIDI MAP function, I developed the ADVANCED MIDI CONTROL Max for Live plug ins for DIALS+FADERS and for BUTTONS. This is ONE technique for MIDI control which requires Max for Live which is included in Ableton Live Suite.


Step 1: Connect your MIDI controller to your computer
Make sure you use the right cable. Most common MIDI controllers are sending MIDI via USB and come with a dedicated USB cable. In some (rare) cases not all USB cables will work for sending USB MIDI from your controller to Ableton Live. If your controller is not showing up in Ableton Live’s MIDI preferences please try another USB cable and try connecting it without a USB hub.
Step 2: Configuring Ableton Live
With your MIDI controller physically connected, it’s important to make sure that Ableton Live recognizes it. Follow these straightforward steps:
- Launch Ableton Live and access the “Preferences” menu. (Shortcuts on Mac: CMND + ” ,” / on windows: CNTRL + “,”)
- Select the “Link Tempo MIDI” tab on the left.
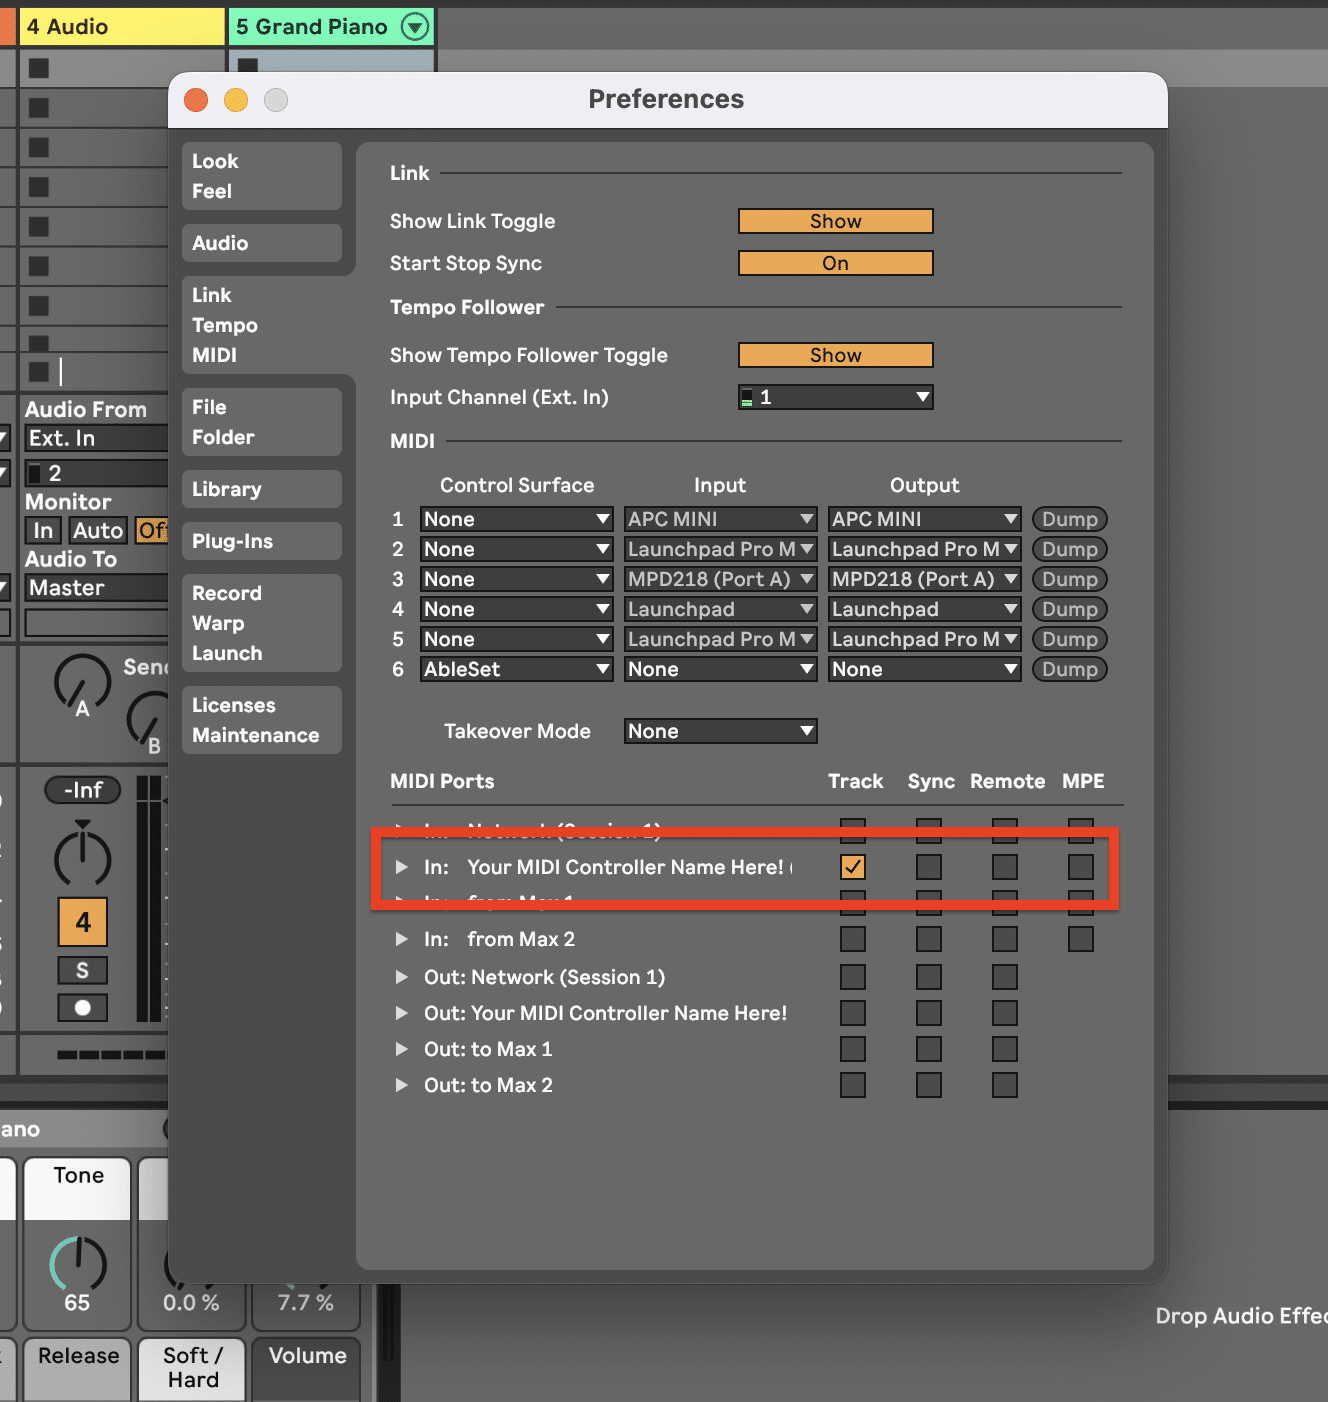
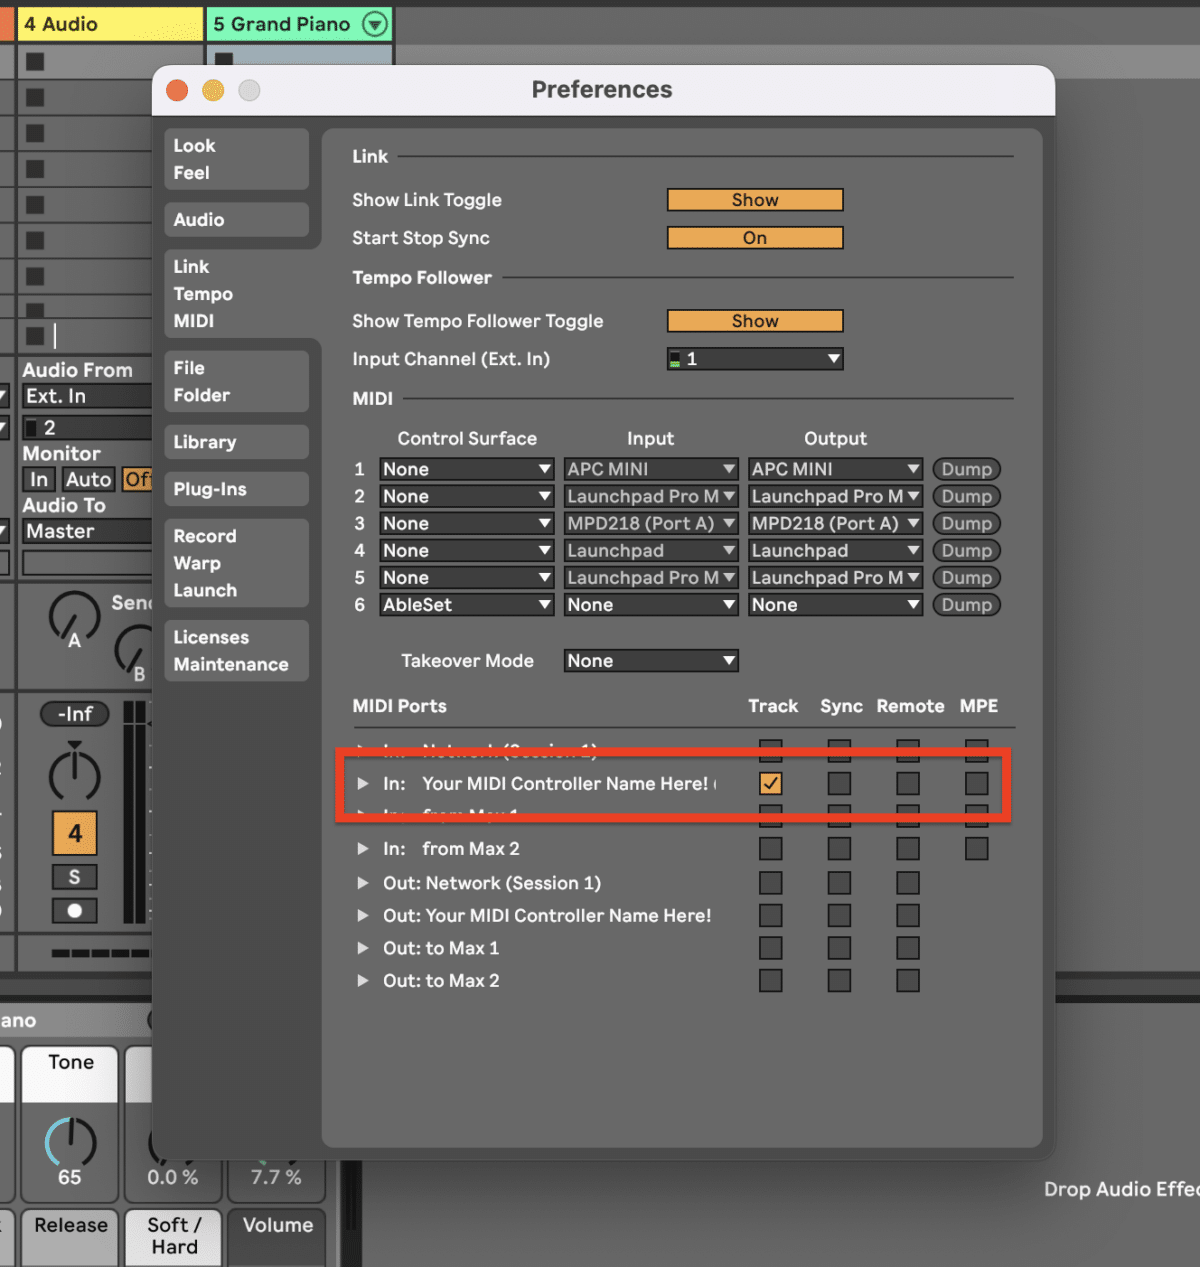
- In the “MIDI Ports” section on the bottom, your MIDI controller should be visible among the input options.
- Activate the “Track” option for your MIDI controller to enable it to transmit MIDI data to your tracks. This is crucial for playing instruments within Ableton Live.
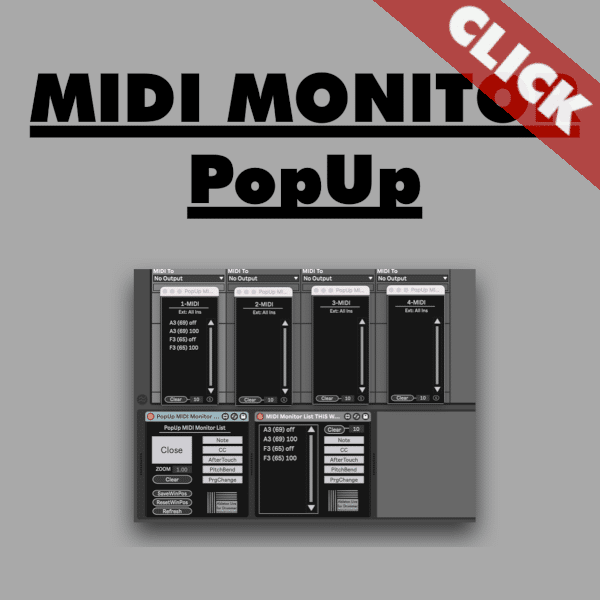
If you want to monitor MIDI notes and messages on a track in Ableton Live you could check out the MIDI Monitor PopUp Max for Live device.
Step 3: Arming Tracks and Adjusting Monitoring
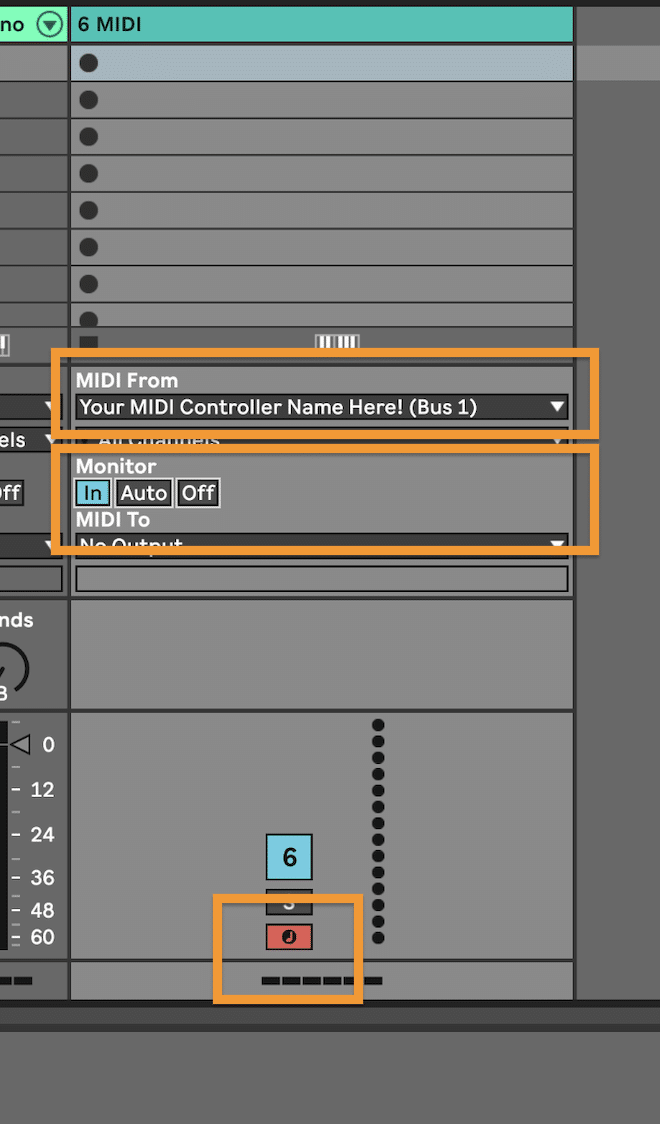
Create a MIDI track in Ableton Live and select your controller in the “MIDI From” menu. Please ARM your track and make sure to set the monitor settings to:
- “Auto” – allows your controller to play when the track is armed.
- “In” – permits your controller to play regardless of the track’s armed status.
You are now able to place MIDI instruments and plugins on this track and to play them via your MIDI controller.
Step 4: Enabling Remote Control:
The remote control functionality empowers you to map controls on your MIDI controller to various functions within Ableton Live. To activate this feature:
- Within the “Preferences” menu, navigate to the “MIDI” section.
- Switch on the “Remote” “IN” toggle for your MIDI controller.
Now, you have the ability to map controls like knobs, buttons, and pads on your MIDI controller to functions in Ableton Live via the native MIDI map menu.
Step 5: Advanced MIDI Control for Ableton Live
Ableton Live’s native MIDI map menu only allows you to MAP one button, pad and fader MIDI message to one parameter in Ableton Live. Some MIDI controllers can be set up to send different MIDI messages via selecting different internal presets. Unfortunately this usually involves some deep diving into some (not very well written) manuals and poorly designed editor softwares. But setting up flexible und more customisable MIDI controls for Ableton Live is easy to do via the ADVANCED MIDI CONTROL Max for Live plug-ins. Please watch the video below to get a better understanding of this technique.
You can as well set up and save MIDI MAPings in Ableton Live via the “Global MIDI MAP” devices. This means you are able to customise MIDI MAP presets in Ableton Live and recall those globally across Ableton Live sets.
