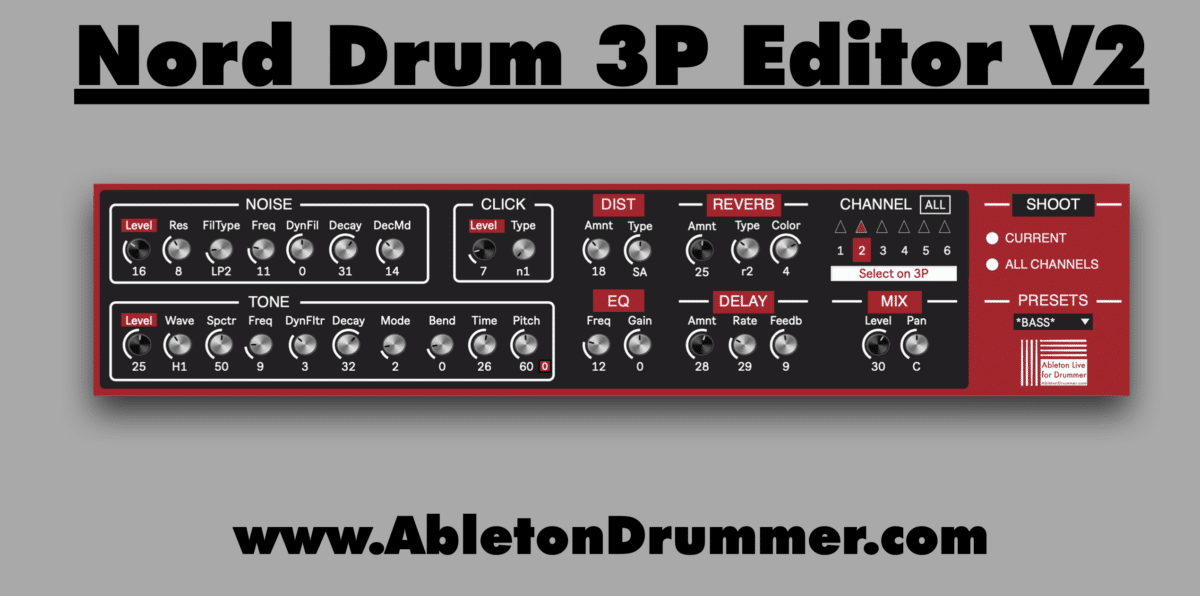
The Volca Drum Editor is a Max for Live device which lets you edit, control, save and recall every parameter from the Korg Volca Drum (get yours here!) *affiliate link* digital percussion synthesizer within Ableton Live. This could become handy for storing and recalling presets, automate sound changes while playing and accessing parameters in a more structured and better overview.
You need to connect your Korg Volca Drum via the MIDI in 5-pin socket to your computer. Maybe you have an external sound card with a MIDI out socket or use a USB-to-MIDI converter.
Set Up the Korg Volca Drum with Ableton Live
There is a Set-Up template included in this Ableton Live Pack/download for this Max for Live device BUT as the “MIDI To” section need to be edited and applied to your hardware I advise you to go through this whole set up section of the manual to fully understand how this MIDI routing works here.
Set up MIDI channels in Ableton Live
The Volca Drum Editor is designed to be used with the Korg Volca Drum set to use Midi Channel 1 to 6 for drum parts 1 to 6. This is the default and factory preset. If the MIDI channel(s) never were changed on your unit it will be already set like this. However you can set the MIDI channels back to 1 to 6 by following the steps described in the Korg Volca Drum manual under the “Setting the MIDI channel” section. LINK TO MANUAL
MIDI channel concept in Ableton
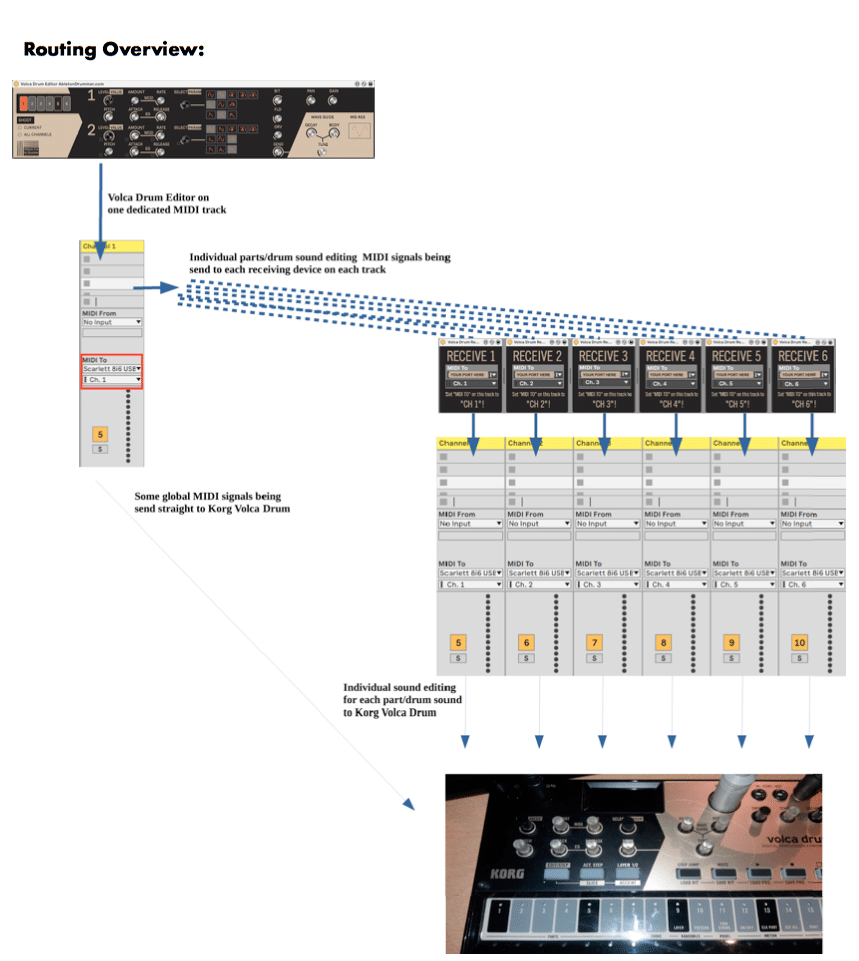
As the Volca Drum is using different MIDI channels to access its 6 different drum sounds (“parts”) there is the need to design a special set up here to be able to access all parameters via a Max for Live device.
Let us have a look on the concept of the MIDI channels distribution here first.
As understanding this concept might save you some time (and stress) later on when things aren’t working straight away (e.g. when you re-open an Ableton Live set and use a different USB to MIDI converter) – I highly advise you to take some time and read through the next chapter carefully.
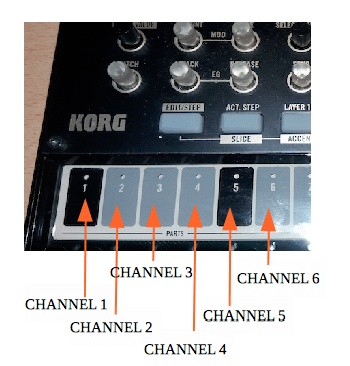
1 to 6 on Volca Drums are 1 to 6 on MIDI channels
So as those numbers are the same, this is easy to understand. Each drum “part”/sound on the Korg Volca Drum is fixed to one MIDI channel.Only MIDI signals send on Channel 1 will effect “part”/sound 1, only MIDI signals send on Channel 2 will effect “part”/sound 2, 3 on 3 and so on.
Ableton Live MIDI tracks limitation to one MIDI channel
Unfortunately one MIDI track in Ableton Live is limited to send to one MIDI channel only.
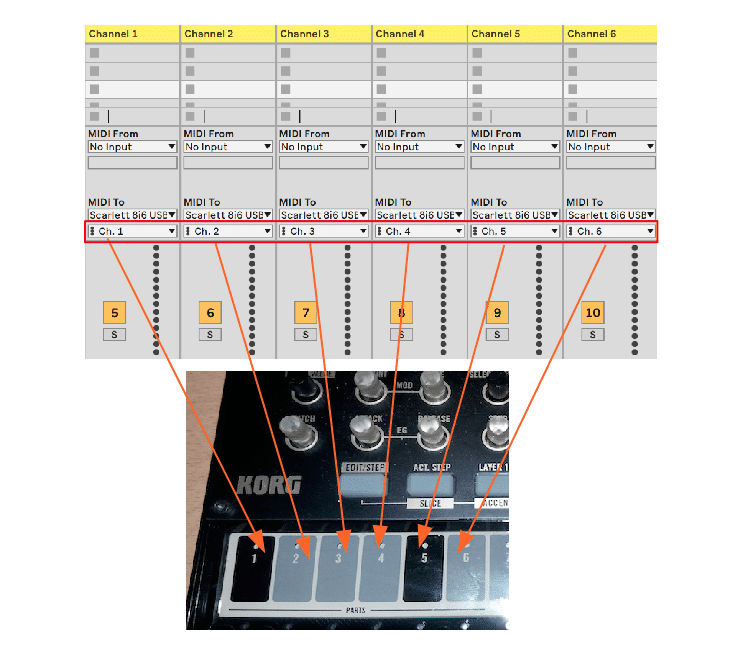
As we need to send MIDI messages on 6 different MIDI channels, we need to set up 6 different MIDI tracks and select “MIDI To” to channel 1,2,3,4,5 and 6 to be able to send to all drum parts/sounds of the Korg Volca Drum.
Of course the first menu window in the “MIDI To” section needs to be set to the right MIDI port you have your Korg Volca Drum connected to. Make sure you have your “TRACK OUT” for this MIDI port/USB-to-MIDI turned on in the MIDI preferences in Ableton Live. (Otherwise it won’t show up in the “MIDI To” menu…)

How to route MIDI signals to the MIDI tracks
Now each MIDI track in Ableton Live needs to get a specific Max for Live device for each channel which will receive the MIDI signals created by the (‘main’) Drum Volca Editor Max for Live device.
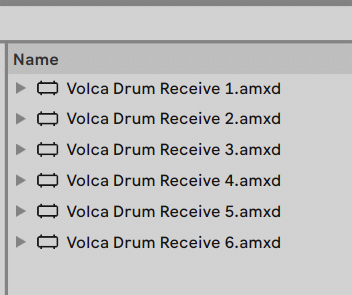
You will find those devices in the Ableton Live Pack (or folder) you got as a download with the purchase.
They are called “Volca Drum Receive (1-6)” and here again number 1 goes onto the first track which is set to Channel 1, number 2 to the track which is set to channel 2, 3 to 3 and so on.

Final set-up part – adding the Volca Drum Editor on a new MIDI track
So the last step to be ready to use the Volca Drum Editor is to create another MIDI Track and drag and drop the “Volca Drum Editor” Max for Live device on there.
As there are some global parameters (the “Wave Guide” section), you want to set the newly created MIDI track as well to be able to send to the MIDI port/USB-to-MIDI connection your Korg Volca Drum is connected to.
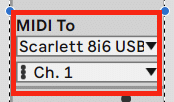
You just have to select this MIDI port in the “MIDI To” menu and every channel from 1 to 6 will work for that.
After that you are now ready to dive into editing, storing and re-calling presets for your Korg Volca Drum. You may store this set-up of tracks and devices in your Ableton User Library. This way you will be able to re-call this set up into Ableton Live Sets as a whole. As mentioned before you will get a template in this pack. You will need to edit MIDI ports and channels. You now know how to do this.
Editing with the Volca Drum Editor
Selecting a drum part to edit
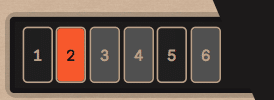
First of all you need to select the drum part you want to edit via the Drum Part Selector on the upper right of the device.
Syncing and merging between the two layers
The Korg Volca Drum has 2 layers for each drum part. You have access to all the parameters on all 2 layers individually but each parameter of those 2 layers can be synced and this way controlled with only one knob.
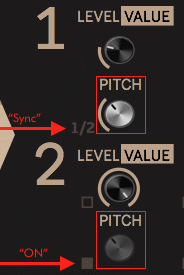
To archieve this you need to activate the Sync Boxes, which are located on the layer 2 surface right next to every parameter dials. If you activate a Sync Box the parameter will be now synced and controlled via the dial on layer 1. The dial on layer 2 for this parameter is now controlled by and synced to the corresponding dial on layer 1. It jumps to the value from layer 1 immediately once activated and will send this change in value out to the Korg Volca Drum.
“Pitch” unsynced state
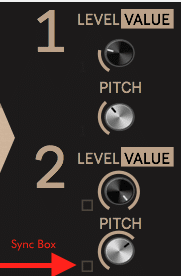
“Pitch” synced state
Saving presets in Ableton Live
Once you have edited some sound settings you might want to store those as presets to be able to re-call those.
You can just save those settings automatic by saving an Ableton Live set. You can save individual presets as well in your User Library by ‘drag and drop’ the current Volca Drum Editor in your User Library.

Shoot section and resend values to Volca Drum
In some use cases you might want to re-send the set values on the Volca Drum Editor to be send out to the Korg Volca Drum.
Examples:
-When you have a switched-off Volca Drum Editor being turned on again
-you use multiple Volca Drum Editors in one Ableton Live set
-When you loaded a preset but not all MIDI send out connection were set right
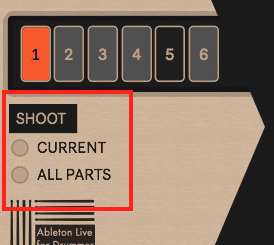
The Shoot section has two buttons:
-CURRENT will ‘shoot’ out the current selected/visible part in the editor
-ALL PARTS will ‘shoot’ out all values from all drum parts from 1 to 6
You can click via mouse on those buttons or you can midi map (or automate in clips) these buttons. If MIDI mapped or automated you have to toggle those buttons off/send an off automation due to Ableton Live settings here.
Using PUSH/PUSH 2 and MIDI controllers with Korg Volca
You can key or MIDI map all individual parameters of each part to be controlled via external MIDI controllers.
You will find as well some preset banks for Abletons PUSH and PUSH 2 controllers, those mappings will be shown in your PUSH 2 LCD window, so it is easy to navigate through those.

Automations and envelopes via MIDI Clips in Ableton Live
You can edit and record envelopes and automation via MIDI clips in Ableton Live to every parameter of the Volca Drum Editor. This way you can use the sounds of your Korg Volca Drum in a new, much more experimental and dynamic way.
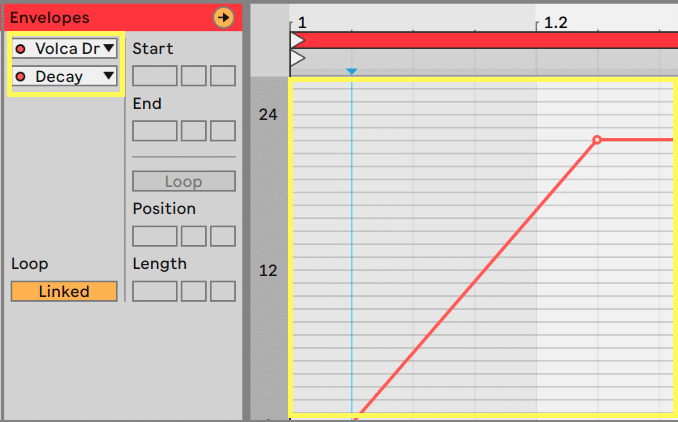
Set Up Live and dynamic changes of parameters on Volca Drum
As all parameters of the Volca Drum Editor can be MIDI mapped you can as well use live velocity created by your midi controller to control changes for those parameters. This will give you some more dynamic sound creation options. NOTE: as the Korg Volca Drum is not designed for this purpose it has some limitations here e.g. will get some delay or some ‘crush’ added to sounds if you send a lot of sound changes controls on the same time.
Included Presets in this pack/download
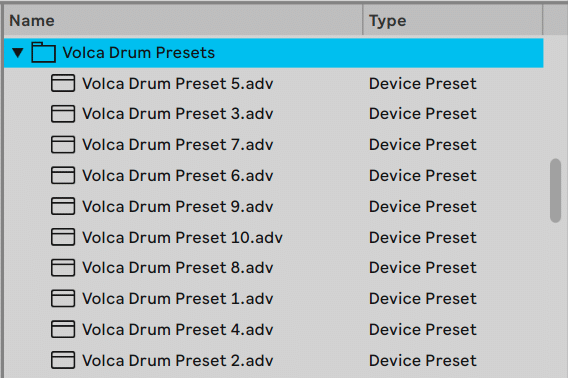
This Max for Live devices comes with 10 sound presets. You can just load those into the Korg Volca Editor MIDI track in your set-up and check those out. You will find those inside your Live Browser inside this pack or in the folder you downloaded.

