Ableton Live Grooves is a powerful tool to enhance and change the feel of loops. Building on that feature is the Ableton Grooves Control Max for Live pack. Therefore this guide will walk you through how to utilize the pack effectively to apply grooves, automate groove settings, and MIDI control your groove parameters in Ableton Live.
The Ableton Grooves Control pack includes four essential devices designed to streamline your workflow. Hence these devices allow you to apply grooves to all clips on a track, automatically apply grooves to recorded clips, and control and automate groove settings via MIDI.
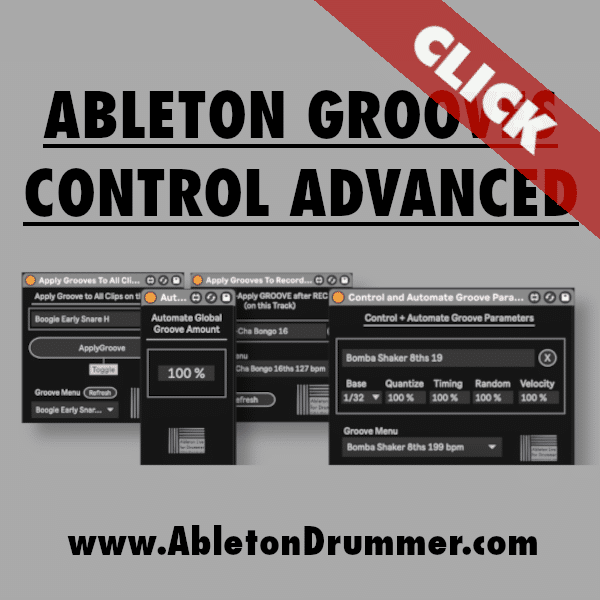
How to Apply Grooves to All Clips on a Track in Ableton Live
Firstly applying grooves to multiple clips on one track simultaneously can save you significant time. Here’s how you do it:
- Add the “Apply Grooves to All Clip”: Open the M4L device on the track in Ableton Live.
- Choose Your Groove: Select the preferred groove in the lower menu on the M4L device.
- Apply the Groove: Click the “Apply Groove” button. This applies the selected groove to all clips on the chosen track.
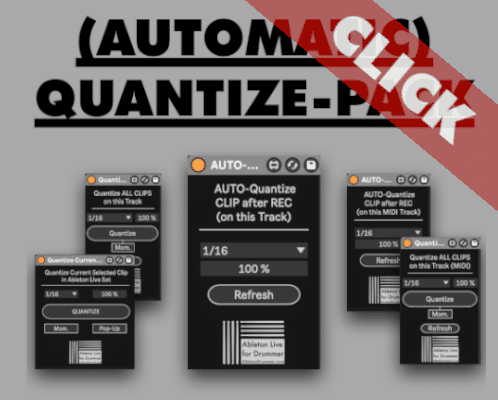
How to automatically Apply Grooves to recorded Clips in Ableton
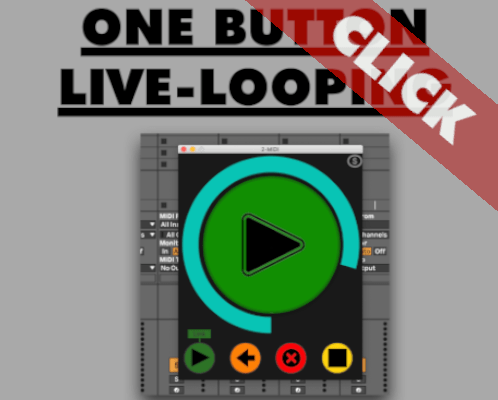
Enhance live looping by automatically applying grooves to your recorded clips. Obviously this feature is particularly useful for live performances.
- Add the “Apply Grooves To Recorded Clips”: Open the M4L device on the track you want to record on.
- Choose Your Groove: Select the preferred groove in the lower menu on the M4L device.
- Record Your Clips: Record a clip on that track in Session View. Now re-trigger the recorded clip after the recording to apply the selected groove to this clip.
How to Control and Automate Groove Settings via MIDI
Furthermore controlling groove parameters via MIDI allows for dynamic and responsive performances. Here’s how to set it up:
- Add the “Control and Automate Groove Parameters”: Open the M4L device on any track in Ableton Live.
- Choose Your Groove: Select the preferred groove in the lower menu on the M4L device.
- Map Your MIDI Controller: Assign your MIDI controller to the parameters on the M4L device
- Automate with Clips: Use a clip on that track to automate the parameter (Session View). In Arrangement View you can set the automation changes directly on the track.
Please check the video manual below to find out more. Enjoy!