Changing the SPD SX PRO colours can enhance your live performances, providing visual cues that sync with your music. This guide will walk you through setting up and using the SX PRO LED Colour Editor and Colour Automator in Ableton Live, which are also part of a bundle. Showing that these Max for Live devices simplify the process, allowing you to manage pad colours effortlessly.
Setting Up the SX PRO LED Colour Editor
Preparing Your Equipment to change SPD SX PRO Colours
First, connect your SPD SX PRO to your computer using a USB connection. Ensure that your SPD SX PRO is recognized by Ableton Live. Then, go to Link/Tempo/MIDI settings and activate the input and output ports for the SPD SX PRO. Switch on the TRACK INPUT and set the track OUTPUT accordingly.
This set up process is explained in the SPD SX PRO manual video HERE as well.
Configuring MIDI Settings
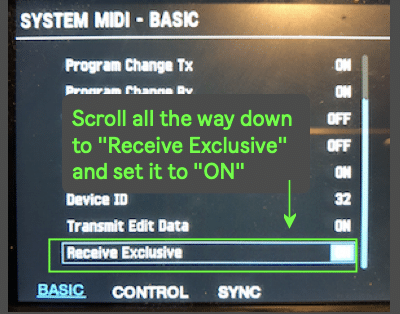
On your SPD SX PRO, navigate to the System MIDI Menu:
- Select Menu.
- Go to the System MIDI tab.
- Scroll down to Receive Exclusive and set it to On.
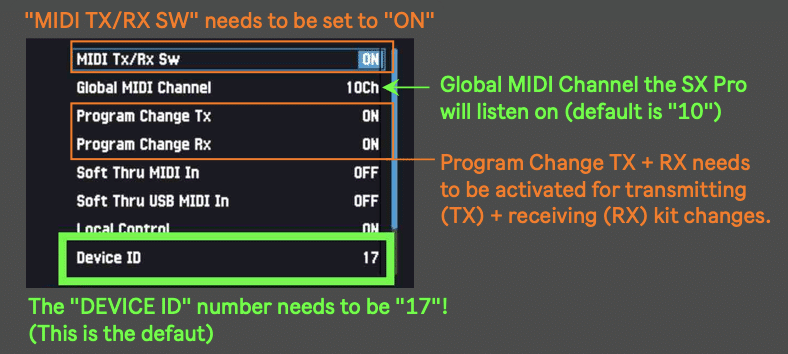
- Ensure MIDI TX/RX SSW is turned On.
- Ensure Program Change TX + Program Change RX is turned ON
- Set the Global MIDI Channel to 10 (default).
- Check and set your Device ID to “17”
Adding the Max for Life Device
In Ableton Live:
- Create a MIDI track.
- Drag and drop the SX PRO LED Color Editor (Max for Life device) onto the MIDI track.
- Set the MIDI From to SPD SX PRO and Monitor to In.
- Set MIDI To to SPD SX PRO and select Channel 10.
- Set Program Change Tx + Rx to On
- Make sure your Device ID is set to 17
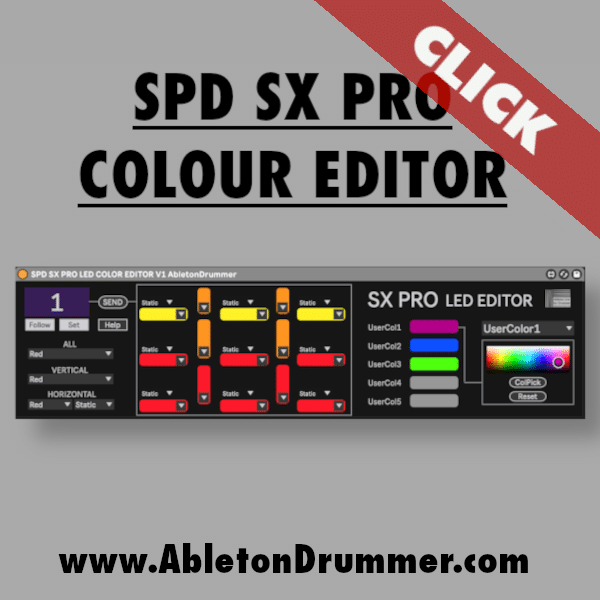
How to Change SPD SX PRO Colours
Setting Pad Colours on the SPD SX PRO
With the SX PRO LED Colour Editor:
- Use macros to change the colours of all pads at once. For instance, set all pads to blue.
- Next, adjust the vertical pads to a different colour, such as orange.
- Then, configure the horizontal pads with another colour.
- Define the states of the pads, whether static, dynamic, or hit.
Customizing User Colours
To change user colours:
- Select User Colour and choose a user colour slot.
- Use the colour picker tool to select your desired colour.
- Save this user colour in the Max for Life device.
Saving and Recalling Presets
Save your configurations as presets:
- In the Max for Life device, create and save presets in your user library.
- To apply a preset, drag and drop it onto the corresponding kit number in the SX PRO LED Color Editor.
- Hit Send to transfer the preset to your SPD SX PRO.
Check out the Video Tutorial below!
Using the SX PRO Colour Automator – a second SX PRO plugin
Dynamic Colour Changes on the SPD SX PRO
The SX PRO Color Automator allows for dynamic colour changes during performances:
- Set up automation clips in Ableton Live’s Session View or Arrangement View.
- Use these clips to change pad colours in real-time, providing visual cues for different parts of your performance, such as chorus sections.

Additional Resources for Changing SPD SX PRO Colours
Both the SX PRO LED Color Editor and the SX PRO Color Automator are available as a bundle. These tools work with Ableton Live Suite (versions 10, 11, and 12) and require Max for Live.