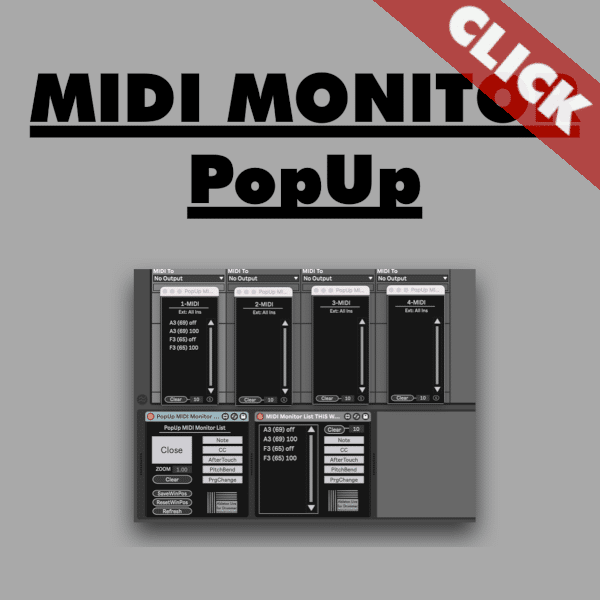
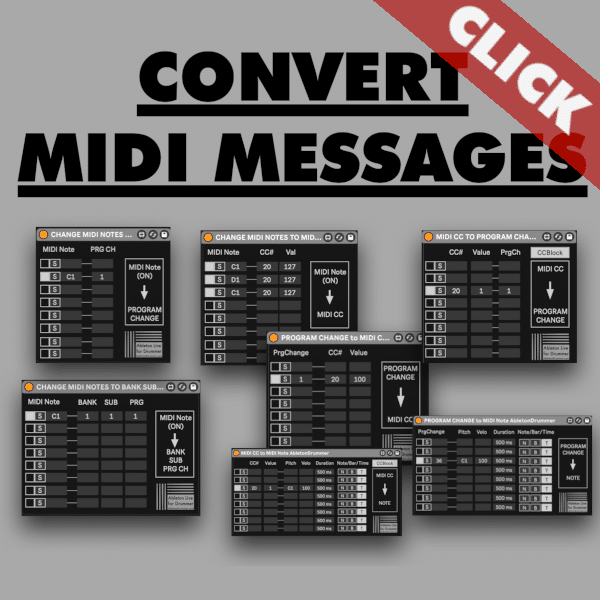
Ableton Live is all about MIDI and sometimes you just quickly want to out which MIDI messages are happening on one track. You can monitor MIDI notes and CC (and more) messages with these Max for Live devices.
If you want to know more about how MIDI routing in Ableton Live works, please check out the info below the video. If you are confident with routing MIDI into a MIDI track then please check out my MIDI Monitor Max of Live devices.
You can check out my ONLINE MIDI MONITOR which lets you monitor MIDI messages inside a webbrowser.
Activate MIDI ports in Ableton Live
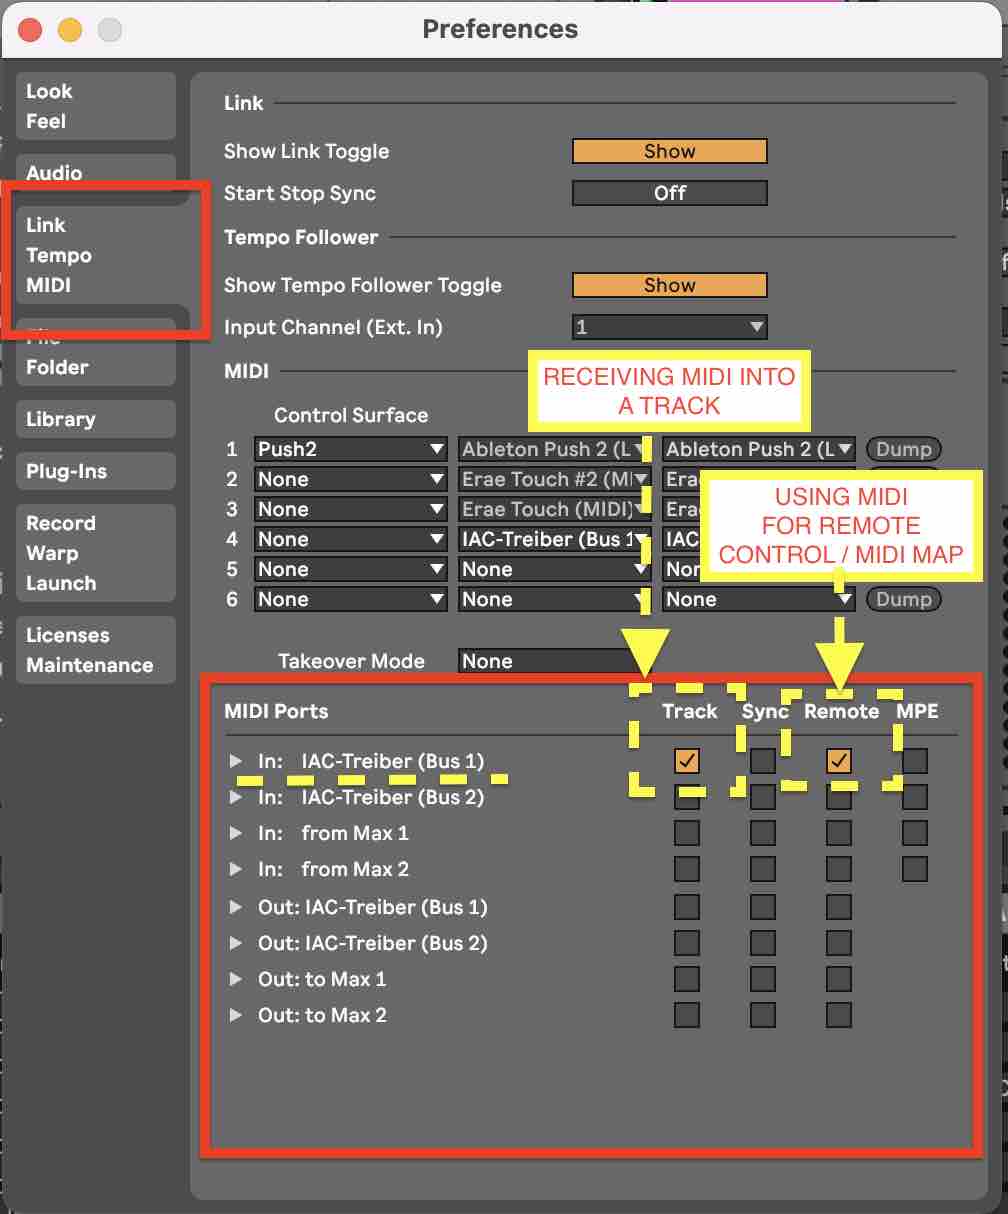
In Ableton Live’s MIDI preferences you should only activate the MIDI ports you need. If you don’t have clean MIDI settings and routings, MIDI messages are floating around and can cause unwanted behaviour.
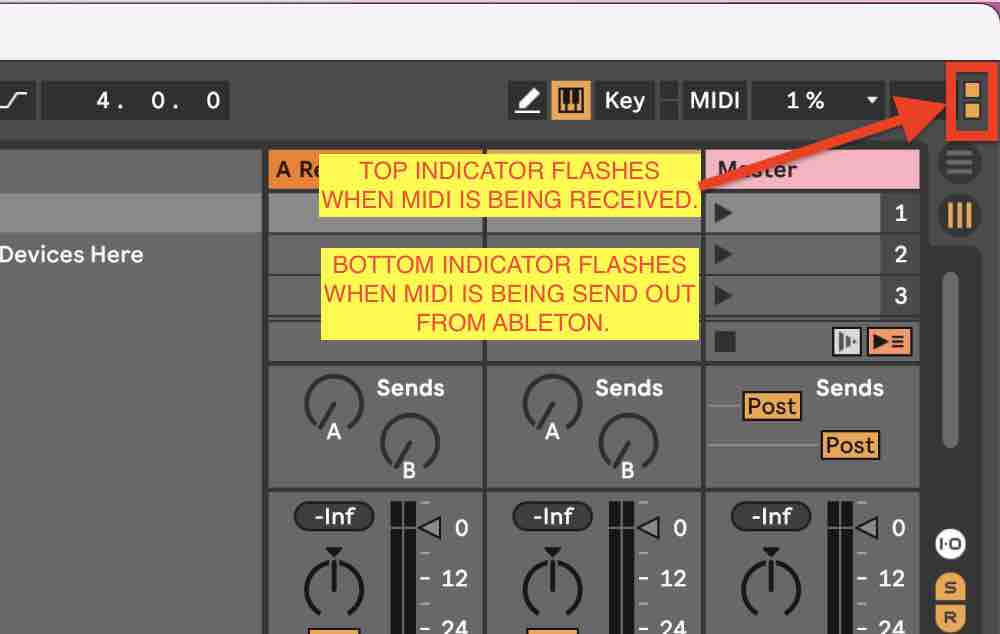
Monitor incoming MIDI in Ableton via flashing indicators
Once your MIDI controller is connected and the MIDI “TRACK” IN port is activated Ableton’s MIDI indicators will flash up when MIDI is being received.
Activate and route MIDI into a MIDI track in Ableton Live
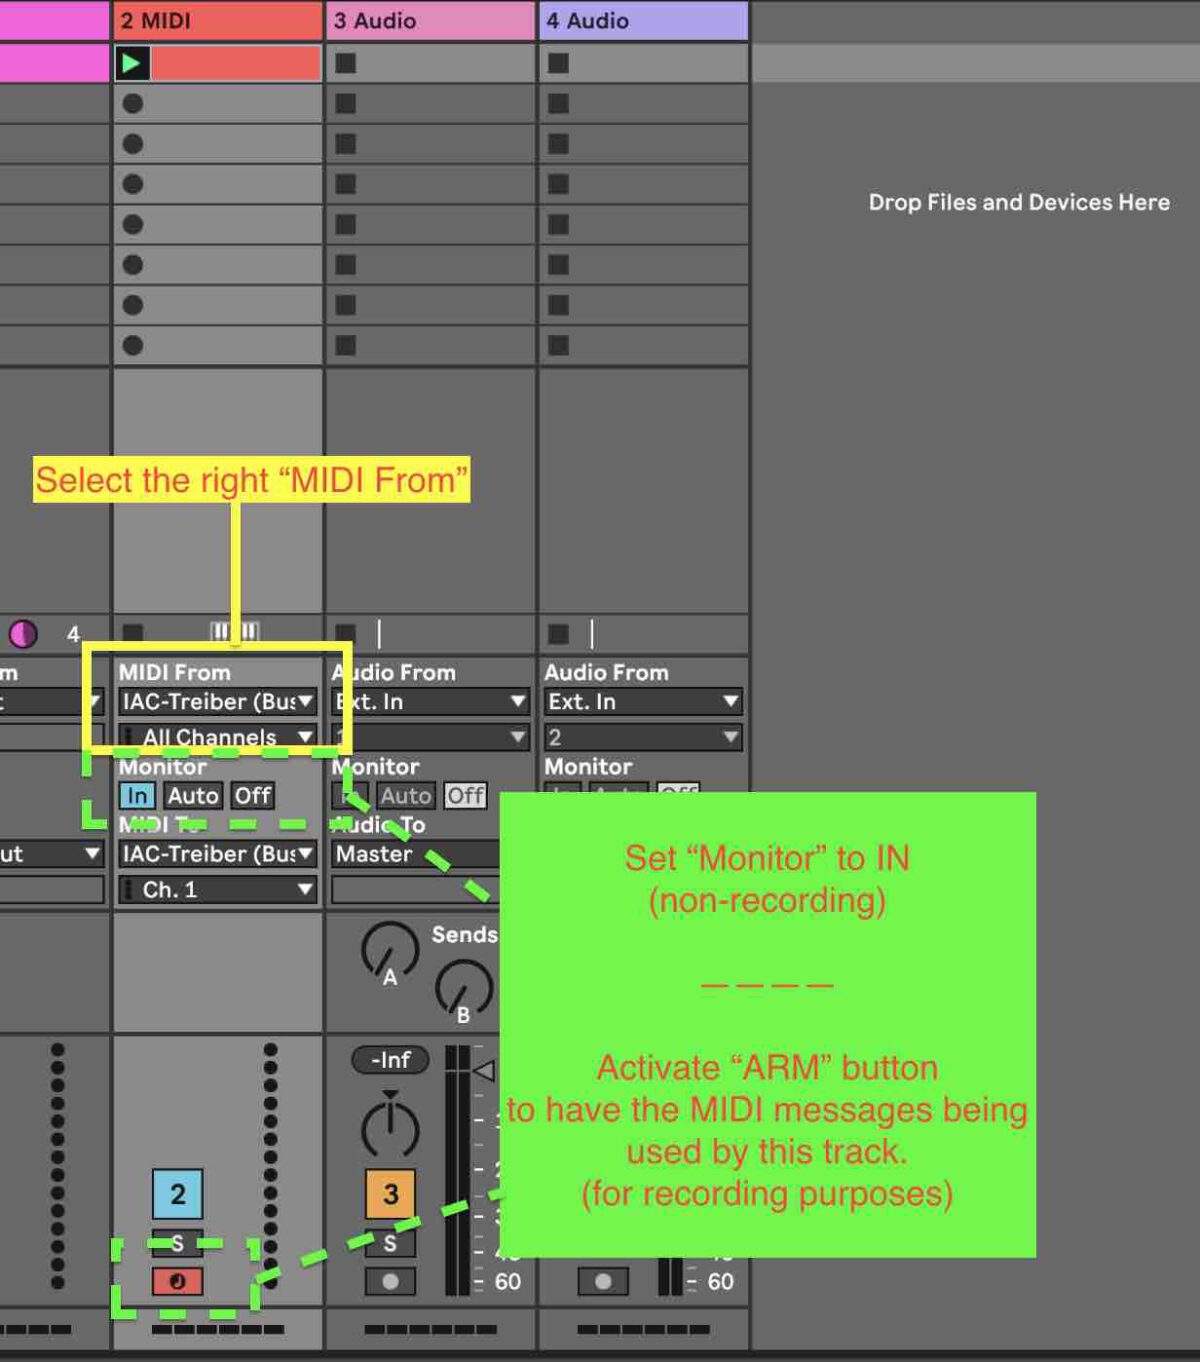
You should make sure that you select the right MIDI IN on each MIDI track you are using in Ableton Live. A Track will now receive MIDI but you will need to activate that this MIDI will be “hot”. You can do this by “ARM”ing the track or by setting the MONITOR to “IN”. ARMing is necessary if you want to record MIDI on this track. MONITOR IN is setting this track to use the incoming MIDI without recording.
Use MIDI Monitor plug ins in Ableton Live
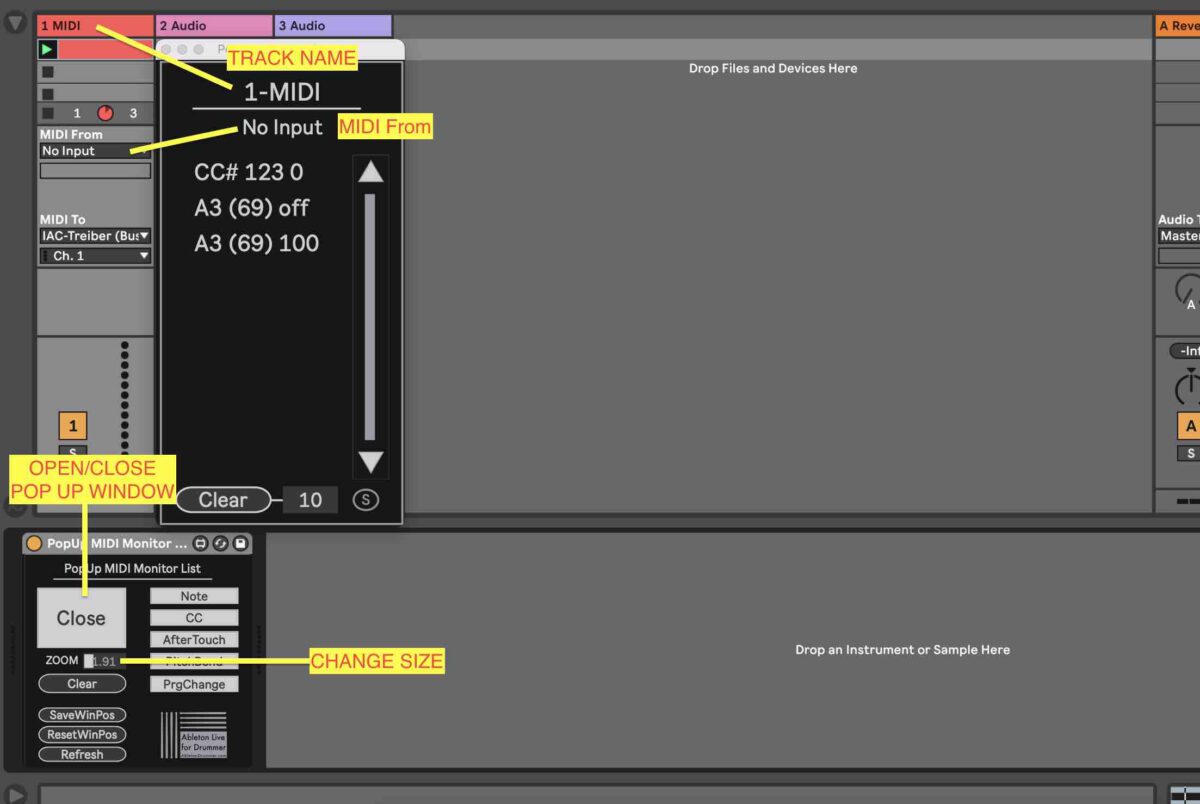
You are now able to make use of the Max for Live devices. You just need to place them on the MIDI track you want to monitor. Use the PopUp version to observe all MIDI messages on that track even all the time. You can “OPEN” the Pop-up and fully customise the size and position. This position and size can be saved as well. The MIDI Monitor max for live device will show you the name of the MIDI track it is monitoring and the selected MIDI From source.
